Card Embellishments: Ribbon, Twine, Sequins and When to Stop
How to attach twine, ribbon, sequins, buttons, brads and pen details to a handmade card, and three simple habits that stop a card from getting overcrowded.
Tutorial at a glance
Materials
- Baker's twine or thin string
- Narrow ribbon
- Sequins or paper confetti cut from scraps
- Buttons or brads (optional)
- Fine-tip pen
- Liquid glue and a toothpick
- Double-sided tape
- Foam squares
- Scissors and a ruler
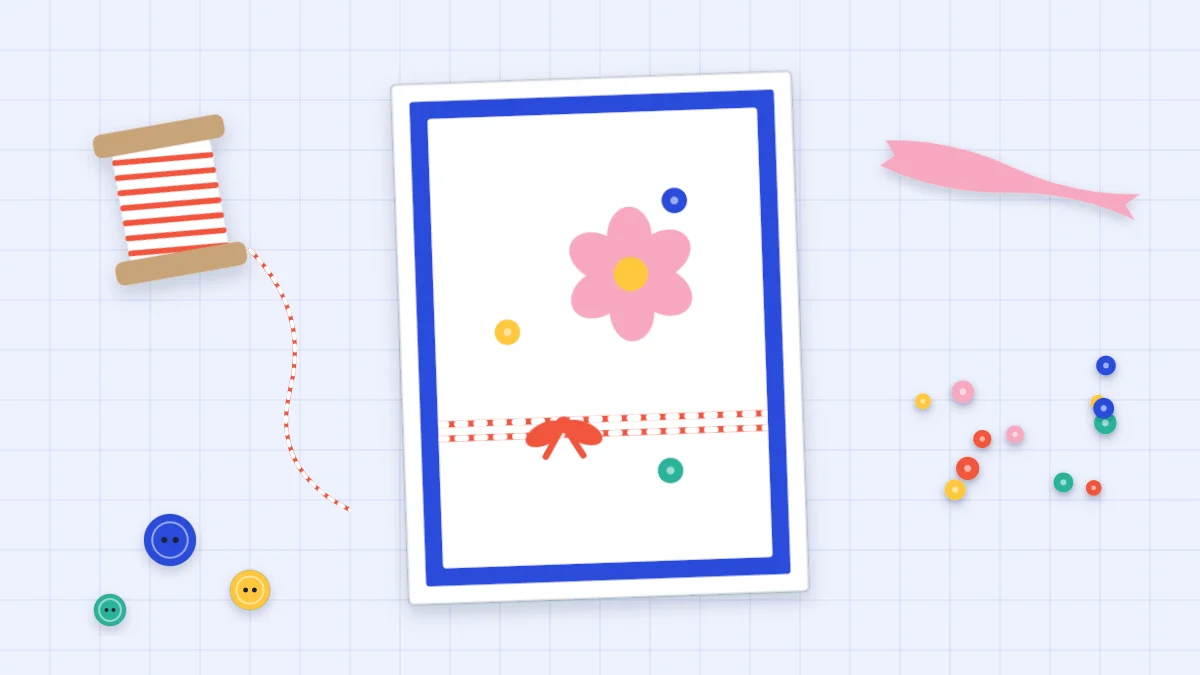
Card embellishments are the small extras added after the paper layers are in place: a wrap of twine, a ribbon bow, a few sequins, a button, a line of drawn stitches. Used lightly they give a card texture and a finished look. Used freely they bury the design and make the card awkward to write on and mail.
Two things matter: attaching each kind so it stays put, and deciding that the card has enough.
Knowing when to stop
Three habits keep embellishments under control, and it helps to have them in mind before any glue comes out.
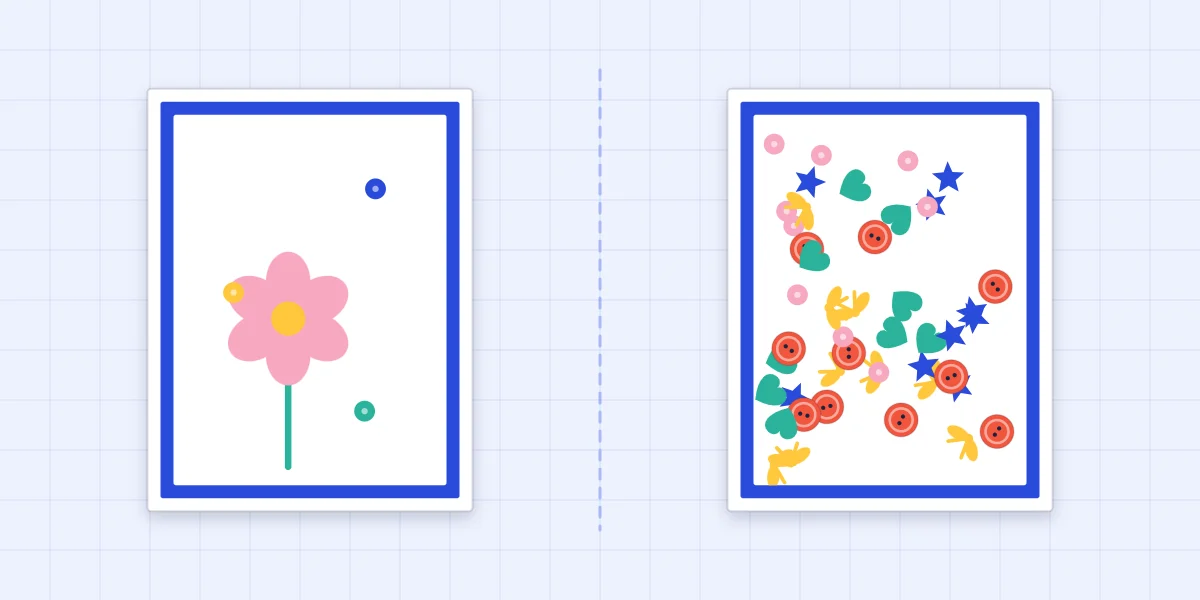
- One main type per card. Choose twine, or sequins, or buttons, and let that one carry the card. A second type can appear in a very small supporting role, such as a single button on a twine bow.
- Repeat a color three times. If the sequins are yellow, yellow should appear in two other places, perhaps the flower center and the mat. Repetition makes an extra look like part of the design instead of an afterthought.
- Keep the greeting area clear. Decide where the handwritten greeting will go and leave that space flat and empty. Writing around sequins is difficult, and writing over a ribbon is impossible.
A useful test is to lay the embellishments on the card loose, then take one away. If the card looks just as good or better, leave it off. A card with one paper flower and three sequins has a clear focal piece. The same card crowded with sequins, buttons, bows and shapes gives the eye nowhere to rest.
Wrapping twine around a panel
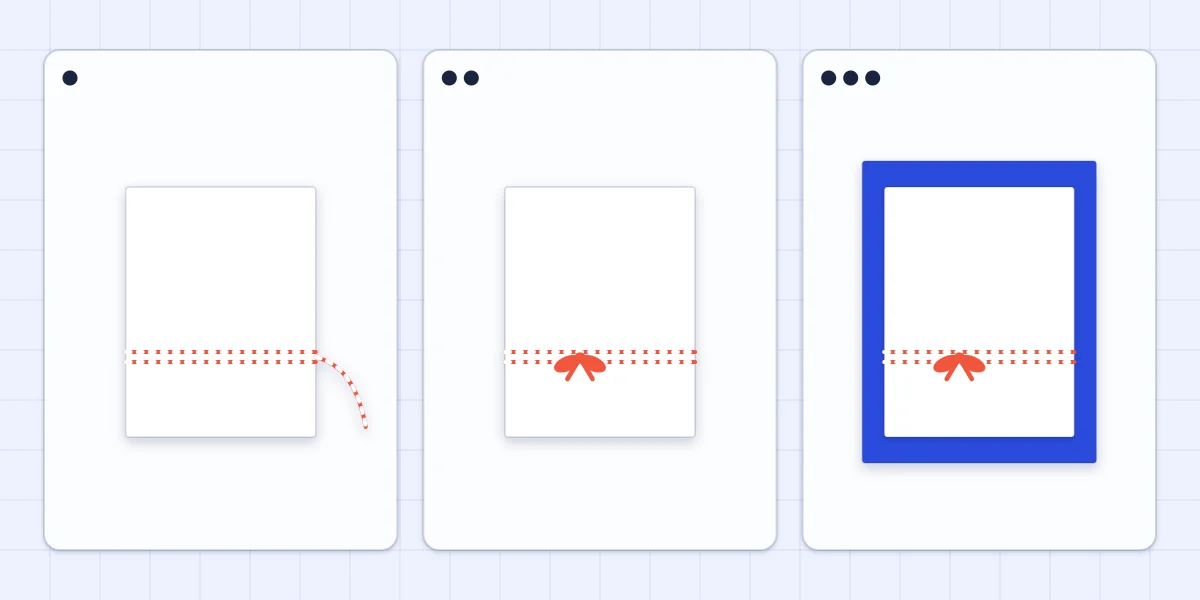
Baker’s twine and thin string look best wrapped around a panel before the panel is mounted. The ends and the back of the wrap are then trapped between panel and card base, so nothing needs gluing on the front.
- Hold the loose panel and wind the twine around it twice, about a third of the way up or down. Keep the two strands side by side, not crossed, and snug without bowing the cardstock.
- Bring both ends to the front and tie a small bow. A knot placed off-center, toward one side, usually looks more relaxed than one in the exact middle. Trim the tails to about 1/2 in (1.3 cm).
- Mount the wrapped panel on the card base with foam adhesive or a generous layer of liquid glue. The twine adds thickness behind the panel, and thin double-sided tape may not bridge the gap.
For twine used as a string of flags, see the birthday banner card with paper pennants.
Ribbon and flat bows
Ribbon is wider and bulkier than twine, so treat it as a band. Cut a length a little longer than the panel is wide, lay it across, fold the ends to the back and fix them there with double-sided tape. Then mount the panel as usual.
A full looped bow stands tall and crushes in an envelope. A flat bow is kinder: make one loop from a short piece of ribbon with its ends glued together at the back, pinch the middle, and wrap a narrow strip of ribbon around the pinch. Glue the flat bow to the band.
Sequins and paper confetti
Sequins need very little glue. Squeeze a small puddle of liquid glue onto scrap paper, pick up a tiny amount on the tip of a toothpick, and touch a dot onto the card where each sequin will sit. Lower the sequin onto the dot and press lightly. Glue that squeezes out around the edge dries shiny and shows, so use less than seems necessary.
Arrange sequins in odd numbers. Three or five look natural, while two or four tend to line up into pairs. Place a group of three as a loose triangle around the focal piece, with uneven gaps and one sitting a little apart. This visual triangle leads the eye around the card and back to the center.
Paper confetti, cut with scissors or a hole punch from cardstock scraps, does the same job and lies completely flat.
Buttons, brads and punched shapes
Buttons are heavy for their size, so liquid glue or a foam square holds them better than a glue stick. Thread a short piece of twine through the holes and knot it at the front first, which makes the button look sewn on. One to three buttons is plenty.
Brads are small metal fasteners with two legs. Pierce a hole through the layer with a pin, push the legs through and open them flat at the back. Do this before mounting the layer so the legs stay hidden.
Paper punches turn scraps into small hearts, stars and circles. The same limits apply: a cluster of three, not a border of thirty.
Drawn details with a fine pen
A fine-tip pen adds detail with no bulk at all. Stitching lines are the classic example: a row of short, evenly spaced dashes drawn about 1/8 in (3 mm) inside the edge of a panel, as if it had been sewn down. Draw them along a ruler, and practice the spacing on scrap first.
Doodled borders work the same way: a row of dots, a line of tiny loops, or a double line with small crosses between. Let the ink dry before touching it.
Tip
Draw pen details before gluing on anything raised. A ruler will not lie flat next to a button or a bow.
Flat or bulky: a quick comparison
| Embellishment | Best way to attach | Bulk |
|---|---|---|
| Baker’s twine | Wrap around the panel before mounting | Low |
| Ribbon band or flat bow | Double-sided tape at the back, liquid glue for the bow | Medium |
| Sequins | Tiny dots of liquid glue | Low |
| Paper confetti and punched shapes | Glue stick or liquid glue | None |
| Buttons | Liquid glue or a foam square | High |
| Brads | Through a pierced hole, legs opened at the back | Medium |
| Pen stitching and doodles | Drawn directly on the panel | None |
Bulk matters most when a card will be mailed. Thick or rigid cards can cost more to send, so check with the postal service, and consider a roomier envelope: you can make an envelope sized to the card. Raised pieces in general are covered in the guide to dimensional cards.
Watch out
Sequins, buttons and brads are small parts that can come loose. Leave them off cards meant for very young children and use paper shapes or pen details there.
Frequently asked questions
How do you glue sequins onto a card neatly?
Put a little liquid glue on scrap paper, pick up a tiny amount with a toothpick and dot it where each sequin will go. Lower the sequin onto the dot and press lightly. Too much glue squeezes out around the edge and dries shiny.
How many embellishments should a card have?
One main type per card is a reliable limit, used in a small odd-numbered group such as three sequins or three buttons. Lay the pieces on loose and remove one: if the card looks as good without it, leave it off.
How do I attach twine to a card without glue showing?
Wrap the twine around the loose panel before you mount it, and tie the bow at the front. The back of the wrap is then hidden between the panel and the card base, so no glue is needed on the front.