Autumn Leaf Card in Warm Layered Paper
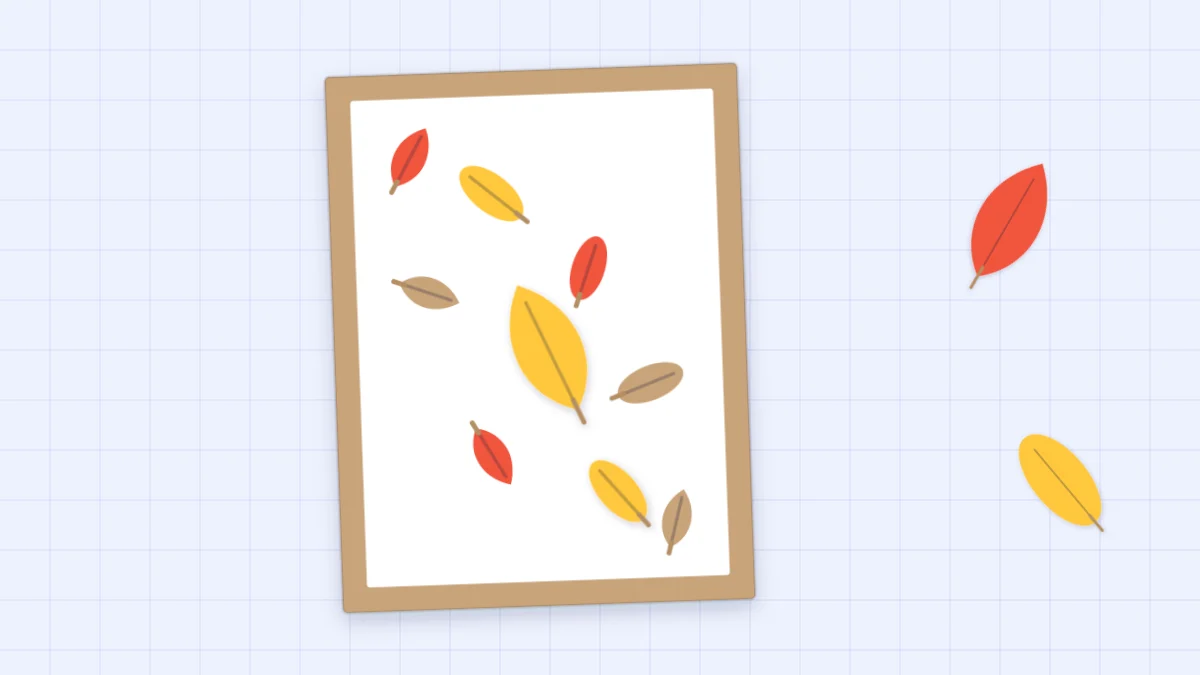
Paper leaves in red, yellow and kraft brown drift diagonally across a white panel, a few of them raised on foam. A warm card for autumn birthdays and Thanksgiving greetings.
Tutorial at a glance
Materials
- Kraft card base, 8.5 x 5.5 in (21.6 x 14 cm)
- White cardstock panel, 4 x 5.25 in (10.2 x 13.3 cm)
- Cardstock scraps in red, yellow and kraft brown
- Scissors and pencil
- Bone folder or empty ballpoint pen
- Glue stick or liquid glue
- Foam squares
- Optional: a real leaf, thin paper and a wax crayon
Five paper leaves, falling at a slant across a white panel, are all an autumn leaf card needs. The shapes are plain ovals and pointed leaves cut from folded paper, the colors are warm reds, yellows and browns, and the arrangement does the rest: a loose drift from the top left to the bottom right, with the largest leaf in the middle.
The card fits an autumn birthday, a Thanksgiving greeting or a thinking-of-you note. The two corners that the drift leaves empty give you room for a short handwritten line, or the message can go inside.
What you need
- One kraft A2 card base: 8.5 x 5.5 in (21.6 x 14 cm), scored and folded to 4.25 x 5.5 in (10.8 x 14 cm)
- White cardstock for the panel, 4 x 5.25 in (10.2 x 13.3 cm)
- Scraps of lighter cardstock in red, yellow and kraft brown
- Scissors, a pencil and a glue stick or liquid glue
- A bone folder, or an empty ballpoint pen, for the veins
- Three or four foam squares
- Optional: a real leaf, thin paper and a wax crayon for rubbed texture
Half a US letter sheet makes the base; half an A4 sheet gives a very similar card. Kraft cardstock sometimes cracks along the fold, so score it first as described in the guide to scoring and folding a card. A white base works too, with a kraft mat under the panel.
Leaf shapes and veins
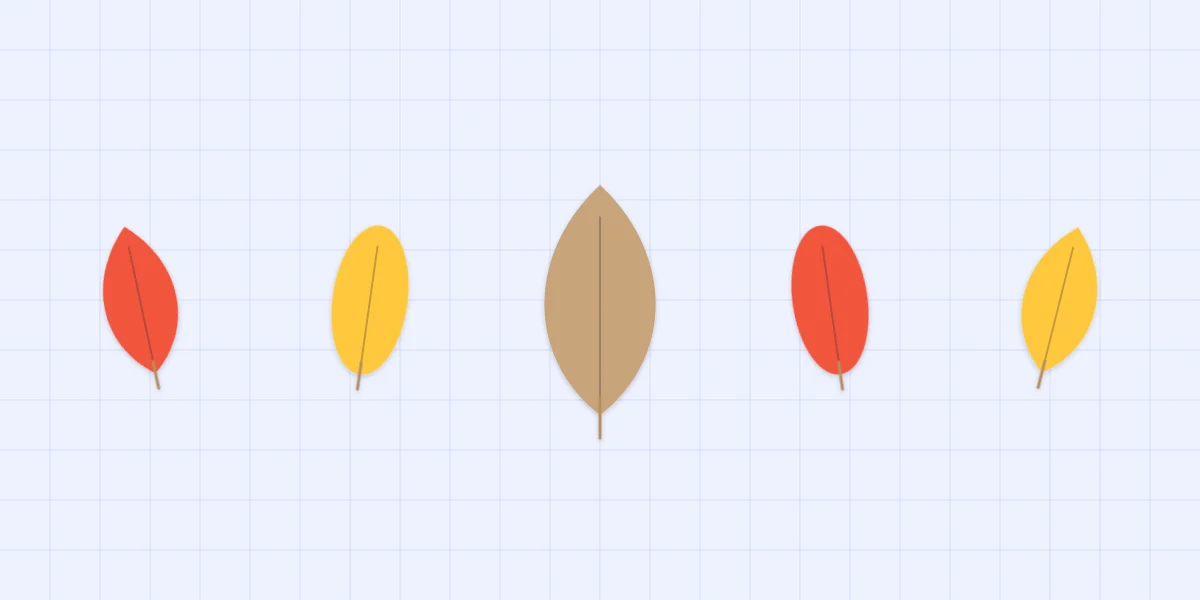
Two shapes are enough. An oval leaf has rounded ends, like a beech leaf. A pointed leaf comes to a tip at both ends, like a willow leaf but wider. Mixing the two keeps the drift from looking like a repeated motif.
- Fold a scrap in half with the color inside.
- Draw half the leaf against the fold: one curve from the top of the fold out and back to the bottom. End the curve sharply at the fold for a pointed leaf, or round it into the fold for an oval.
- Cut along the line in one pass and unfold.
- Do not flatten the crease completely. The fold is the center vein, and a leaf that stays slightly bent catches the light on one half.
For a sharper vein, turn the leaf face up, lay a ruler along the crease and run a bone folder or an empty ballpoint pen down it. Press lightly. A heavy stroke can cut through lighter cardstock, especially at the tips.
Cut four small leaves about 1 in (2.5 cm) long and one focal leaf about 1.75 in (4.5 cm) long.
| Leaf | Shape | Color | Length | Mounting |
|---|---|---|---|---|
| 1 | Pointed | Yellow | About 1 in (2.5 cm) | Flat |
| 2 | Oval | Kraft brown | About 1 in (2.5 cm) | Flat |
| 3, focal | Pointed | Red | About 1.75 in (4.5 cm) | Raised on foam |
| 4 | Oval | Yellow | About 1 in (2.5 cm) | Raised on foam |
| 5 | Pointed | Red | About 1 in (2.5 cm) | Flat |
Mixing a rusty orange by layering
Autumn palettes lean on a burnt orange that is rarely in a scrap box. You can build it from what you have. Cut a yellow leaf, then cut a slightly narrower red leaf and glue it on top so a rim of yellow shows around it. From arm’s length the two colors blend toward orange.
Colored pencil does the same job. Shade a kraft leaf lightly with red, then go over it with yellow, working from the vein outward so the edges stay browner. Light layers look better than one hard pass, which leaves waxy streaks.
Optional: make textured paper from a real leaf
A crayon rubbing gives you patterned paper that is entirely your own. Place a fresh, flat leaf vein side up on a hard table and lay a sheet of thin paper, such as printer paper, over it. Hold the paper still and rub the long side of a peeled wax crayon across it. The veins appear as darker lines.
Rub several leaves across the sheet in red, orange and brown, then cut your paper leaf shapes from the rubbed areas. Thin paper is floppy, so glue the rubbed sheet to a cardstock scrap before cutting if you plan to raise the leaf on foam. Cardstock itself is too thick for the texture to come through. The guide to cardstock weights and finishes explains which papers behave which way.
Arranging the falling leaves
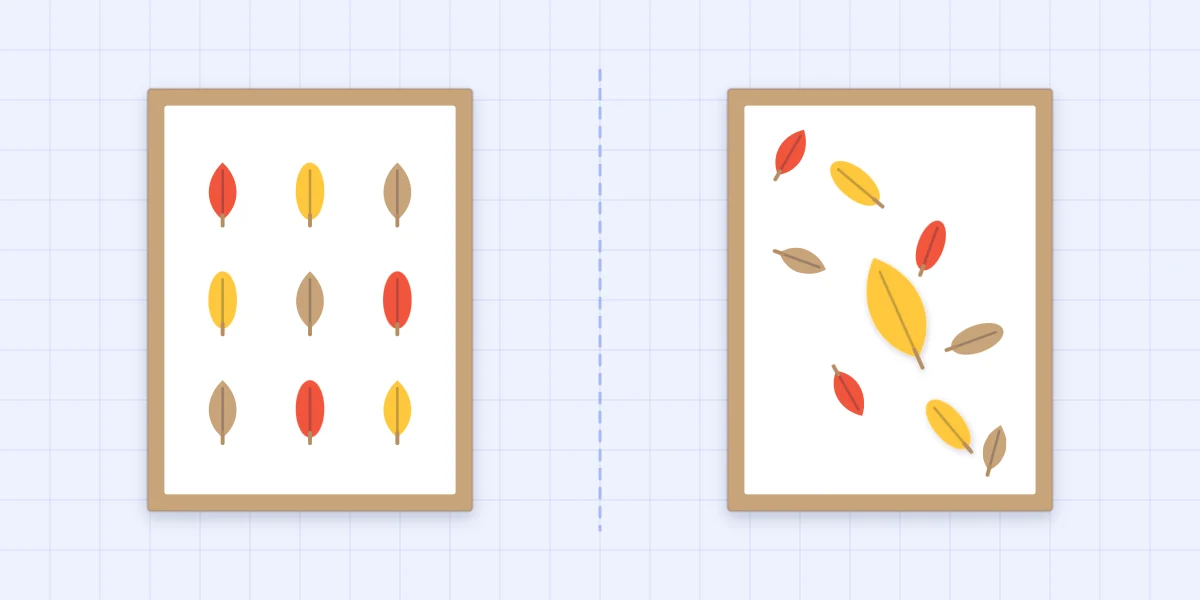
Lay all five leaves on the panel before opening the glue. Start with the focal leaf at the center. Then place two small leaves above it toward the top-left corner and two below it toward the bottom-right corner, so the group forms a loose diagonal band.
Three habits make leaves look as if they are falling:
- Vary the angles. Turn every leaf a different way. Leaves that all point the same direction look blown by a fan.
- Vary the gaps. Let two leaves sit close together and leave a wider space before the next.
- Break the line. Shift one leaf a little off the diagonal so the drift is a band, not a ruled row.
A grid is the thing to avoid. Leaves spaced evenly in rows read as wrapping paper, and the focal leaf loses its role. The diagonal sweep is one of several dependable arrangements described in the guide to card layouts.
Tip
Once the arrangement looks right, make a tiny pencil dot under the tip of each leaf. Lift one leaf at a time, glue it and return it to its dot.
Gluing and raising the leaves
Glue the flat leaves first, with glue along the vein only. The two halves of each leaf then lift slightly from the panel and cast a thin shadow. Glue spread to the edges presses the leaf flat and wastes the crease.
Mount the focal leaf and one small leaf on foam squares, trimmed so that no foam shows from the side. Raising only some of the leaves gives the drift depth, as if some are nearer than others. The guide to dimensional cards covers foam placement and homemade spacers in more detail.
Finally, glue the panel to the kraft card front with an even 1/8 in (3 mm) border all around, and press the edges down firmly, keeping clear of the raised leaves.
Watch out
Raised leaves add thickness. If the card will be mailed, thick or rigid cards can cost more to send, so check with the postal service.
The same folded-paper cutting carries through the rest of the year: paper tulips for a spring card, and cut paper snowflakes for a winter holiday card.
Frequently asked questions
How do you make paper leaves look like they are falling?
Arrange them in a loose diagonal band and turn each leaf to a different angle. Vary the gaps between them and let one leaf sit slightly off the line. Evenly spaced rows look like a printed pattern instead of a drift.
How do I add a vein to a paper leaf?
Cutting the leaf from folded paper leaves a crease down the middle that already works as the center vein. For a sharper line, run a bone folder or an empty ballpoint pen along the crease against a ruler, pressing lightly so the paper does not tear.
What if I have no orange cardstock?
Glue a slightly narrower red leaf over a yellow one so a yellow rim shows, or shade a kraft leaf with red and yellow colored pencil. Both read as a rusty orange from a normal viewing distance.