Finishing a Handmade Card: Insides, Backs and Clean Edges
The last jobs before a handmade card goes in its envelope: lining the inside, cleaning off pencil and glue, checking the fold, pressing it flat and writing the greeting.

Tutorial at a glance
Materials
- Light-colored paper or lighter cardstock for the liner
- Soft white eraser
- Pencil and ruler
- Fine-tip pen
- Liquid glue or glue stick, and a toothpick
- Bone folder
- Scissors and a small coin, or a corner punch
- One or two heavy books for pressing
- Envelope to fit the card
Finishing a handmade card is the stage between gluing down the last piece on the front and putting the card into its envelope. It covers the inside, the back, the edges and the stray marks that building a card leaves behind.
Work through the jobs in roughly the order below. Cleaning comes before pressing, and pressing before writing, so that nothing smudges.
Lining the inside of a card
A card base in navy, kraft or any deep color looks good from the front and is hard to write in. The fix is a liner: a panel of lighter paper glued to the inside right-hand face, where the message goes.
Cut the liner about 1/4 in (6 mm) smaller than the card front in both directions, which leaves an even 1/8 in (3 mm) border of the base color all around. For an A2 card of 4.25 x 5.5 in (10.8 x 14 cm), that is a panel of 4 x 5.25 in (10.2 x 13.3 cm). It is the same sizing used for mats on the front, explained in the guide to layering cardstock. White or cream paper in a lighter weight than the base keeps the card from getting stiff, and smooth paper takes pen best.
Glue the liner with a thin, even coat that reaches the corners, since a loose corner inside a card catches on the envelope. Then add one small detail that repeats the front: a single star in a lower corner if the front has stars, or a thin strip in the mat color along the bottom edge. One motif is enough, because the inside is for the message.

Erasing pencil marks and removing glue
Look at the card under good light, tilting it so that shiny spots show up. Guide lines, measuring ticks and placement dots should come off with a soft white eraser. Rub gently in one direction, away from any paper edge, so the eraser does not catch a layer and lift it.
Glue smears need the opposite of instinct. Wet liquid glue spreads when wiped and leaves a wider, flatter stain. Leave the smear alone until it has dried fully, then rub it with a clean fingertip: on most cardstock it rolls up into a small ball and lifts off. An adhesive eraser, if you have one, does the same job, and a plain white eraser handles small spots.
Watch out
Test rubbing on a scrap of the same paper first. Dark, coated and pearlescent cardstock can scuff or go shiny where it is rubbed, and a small glue spot is often less visible than a scuffed patch.
Checking the fold and the edges
Close the card and look at the open side. The front and back edges should meet. If the front sticks out by a sliver, trim both layers together along a metal ruler with a craft knife on a cutting mat, cutting away from the hand that holds the ruler. If the fold itself is soft or slightly rounded, run a bone folder along it once more, and for folds that crack or drift, go back to the method in how to score and fold a card.
Then run a fingertip around the front. Any mat corner or shape edge that lifts needs a tiny amount of liquid glue pushed underneath with a toothpick or a scrap of paper.
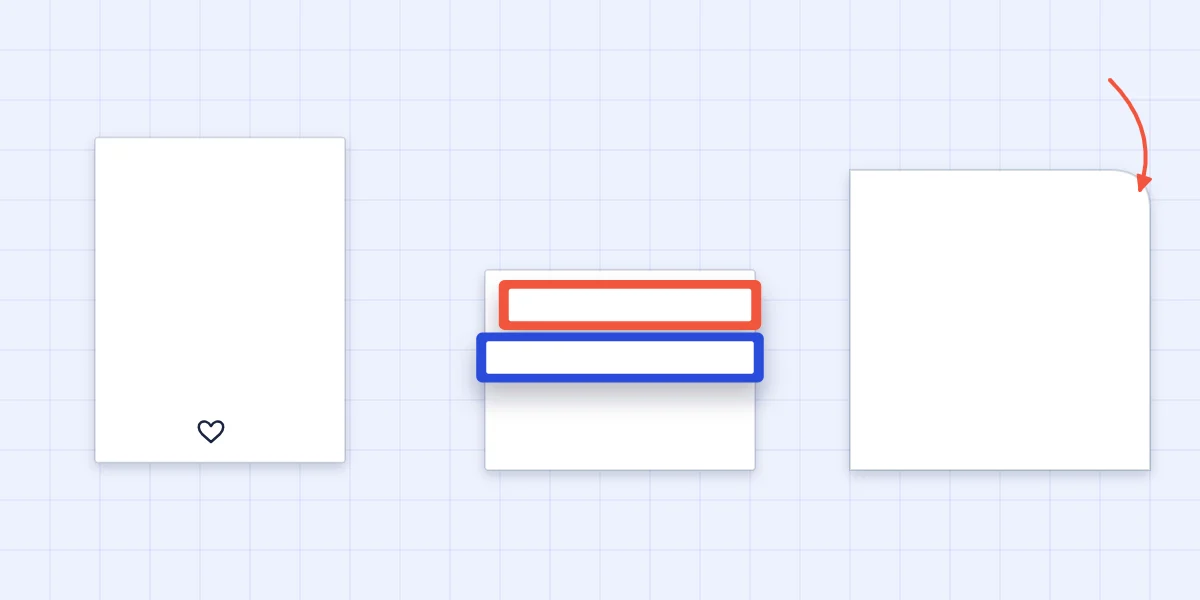
Rounding the corners is optional. A corner punch does it in one squeeze. Without one, trace the curve of a small coin at each corner in pencil and cut along the line with scissors. Round all four corners of the base, or only the two on the open side.
Marking the back and pressing the card flat
The back of a handmade card is the traditional place for the maker’s mark. Keep it small and hand-drawn: a tiny heart, a leaf, your initials or the year, centered near the bottom edge. Use a fine pen, and try it on scrap first.
Glue adds moisture, and moisture makes cardstock curl as it dries. To flatten a card, close it, lay a clean sheet of paper over the front and put it under a book or two. Leave it there until the glue has dried fully. Do not press cards with foam layers, curled petals or bows. For those, press the base and the flat layers before the raised pieces go on.
Writing the greeting by hand
The greeting, which some crafters call the sentiment, goes on last, when the card is clean and flat. Rule one or two faint pencil lines to keep the writing level, and write the words lightly in pencil first. This shows whether they fit the space and where the line breaks fall before anything permanent touches the card.
Go over the pencil with a fine-tip pen, let the ink dry completely, then erase the guide lines. Erasing too soon is the most common way to ruin a finished card, because damp ink smears into a gray streak.
Tip
Slip a scrap of paper under your writing hand. It keeps the oils of your skin and any graphite on your palm off the liner.
Matching the envelope and protecting the card
An envelope that picks up one color from the card makes the two feel like a set. Kraft and white go with almost everything. If the card is an odd size, it is easy to make an envelope to fit and line the flap with a scrap from the card.
Flat cards need nothing more. Cards with raised parts do: cut the envelope a little larger so it closes without pressure, and lay a piece of plain cardstock over the front inside the envelope as a shield. Thick, rigid or square cards can cost more to mail, so check with the postal service. The guide to dimensional cards has more on raised layers.
Finishing checklist
| Check | What to look for | Fix |
|---|---|---|
| Inside | Dark base with nowhere to write | Add a light liner panel |
| Pencil marks | Guide lines and ticks | Soft white eraser, brush away crumbs |
| Glue | Shiny smears or spots | Let dry, then rub off |
| Fold and edges | Uneven edges, lifting corners | Trim, burnish, re-glue |
| Flatness | Curl or bowing | Press under a book until dry |
| Back | Blank or smudged | Clean, then add a small mark |
| Greeting | Not yet written | Pencil first, then pen |
| Envelope | Too tight or mismatched | Choose or make one that fits |
If the front still looks unfinished after these checks, one small extra is often enough. The guide to card embellishments covers twine, sequins and when to stop.
Frequently asked questions
How do I write inside a dark handmade card?
Glue a liner panel of white or cream paper to the inside right-hand face. Cut it about 1/4 in (6 mm) smaller than the card front in both directions so an even border of the dark base shows around it. For an A2 card that is 4 x 5.25 in.
How do you get glue smears off a handmade card?
Do not wipe wet liquid glue, because that spreads it. Let the smear dry fully and rub it gently with a clean fingertip or a white eraser until it rolls off. Test on a scrap first, since dark or coated cardstock can scuff.
What should go on the back of a handmade card?
A small hand-drawn mark is enough: a tiny heart or leaf, your initials or the year, centered near the bottom edge. Keep it modest and test the pen on scrap paper first.