Anniversary-Style Card With Interlocking Paper Hearts
Two hearts cut from folded paper, overlapped so one tucks behind the other, on a soft double mat. A restrained card for anniversaries, engagements, weddings or friendship.
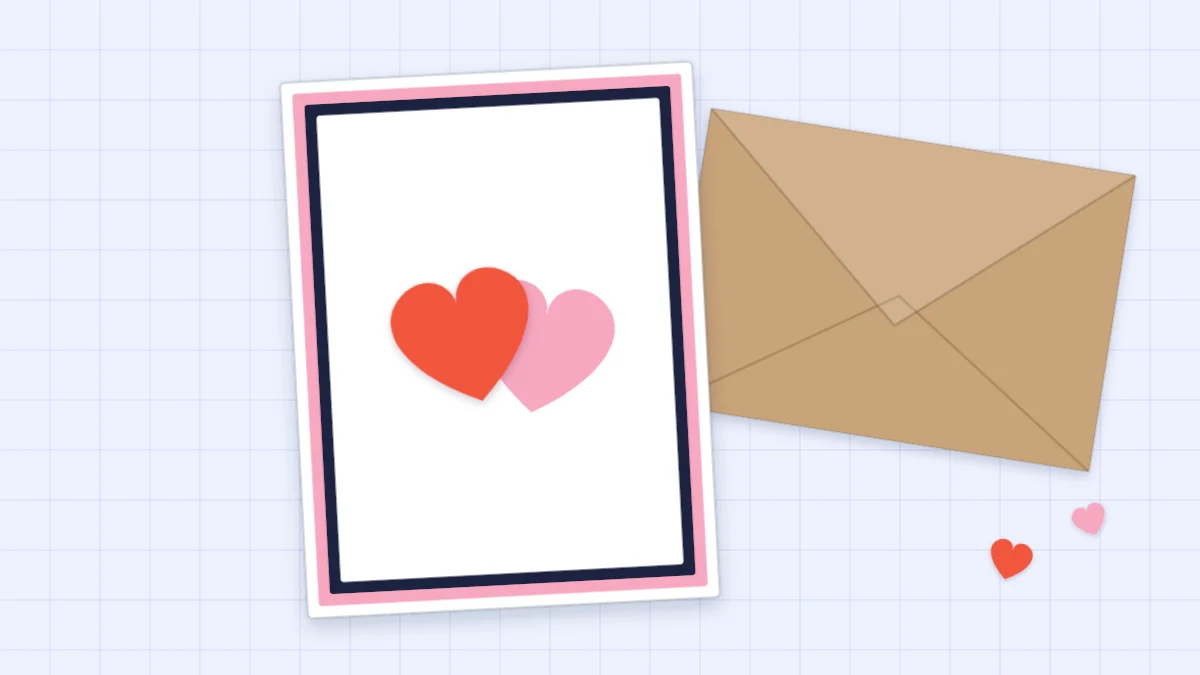
Tutorial at a glance
Materials
- White card base, 8.5 x 5.5 in (21.6 x 14 cm)
- Pink cardstock mat, 4 x 5.25 in (10.2 x 13.3 cm)
- Navy cardstock mat, 3.75 x 5 in (9.5 x 12.7 cm)
- White cardstock panel, 3.5 x 4.75 in (8.9 x 12.1 cm)
- Red and pink cardstock scraps
- Scissors, pencil and ruler
- Glue stick or liquid glue
- Craft knife and cutting mat (optional, for the slit)
Two paper hearts, overlapped so that one tucks behind the other, make an anniversary card that is simple to cut and hard to get wrong. The same card suits an engagement, a wedding, or a note to a close friend, because nothing on the front ties it to one occasion. The message is handwritten inside.
What lifts the design above a basic heart card is restraint: a white panel, one deep color, one soft color, and a double mat that frames the hearts like a picture. The cutting is easy. The care goes into even borders and a clean overlap.
What you need
- One white A2 card base: 8.5 x 5.5 in (21.6 x 14 cm), scored and folded to 4.25 x 5.5 in (10.8 x 14 cm)
- Pink cardstock for the outer mat, 4 x 5.25 in (10.2 x 13.3 cm)
- Navy cardstock for the inner mat, 3.75 x 5 in (9.5 x 12.7 cm)
- White cardstock for the panel, 3.5 x 4.75 in (8.9 x 12.1 cm)
- Red and pink scraps, each at least 2.5 in (6.4 cm) square, plus small offcuts for tiny hearts
- Scissors, a pencil, a ruler and a glue stick or liquid glue
- A craft knife and cutting mat if you want to cut the interlocking slit
The base is half a US letter sheet. Half an A4 sheet makes a card of nearly the same size, with the mats trimmed to suit. If the fold on your base tends to crack or wander, read the guide on scoring and folding a card before you start.
A restrained palette
An elegant card usually comes from fewer colors, not more. White does most of the work, the deep color draws the eye, and the soft color keeps the deep one from looking harsh. Kraft adds warmth without competing.
| Role | Example | Where it goes |
|---|---|---|
| White | White cardstock | Card base and center panel |
| Deep color | Poppy red, with navy as a thin line | Front heart and inner mat |
| Soft color | Pink | Second heart and outer mat |
| A touch of kraft | Kraft paper | The envelope |
Pearlescent paper is optional. If you have some, use it for one heart only, since a shimmer finish on every layer flattens the contrast. There is more on building palettes in the guide to card color combinations.
Cutting a symmetrical heart from a fold
A heart drawn freehand nearly always has one side fatter than the other. Cutting through a fold removes the problem, because both halves are cut in the same stroke.
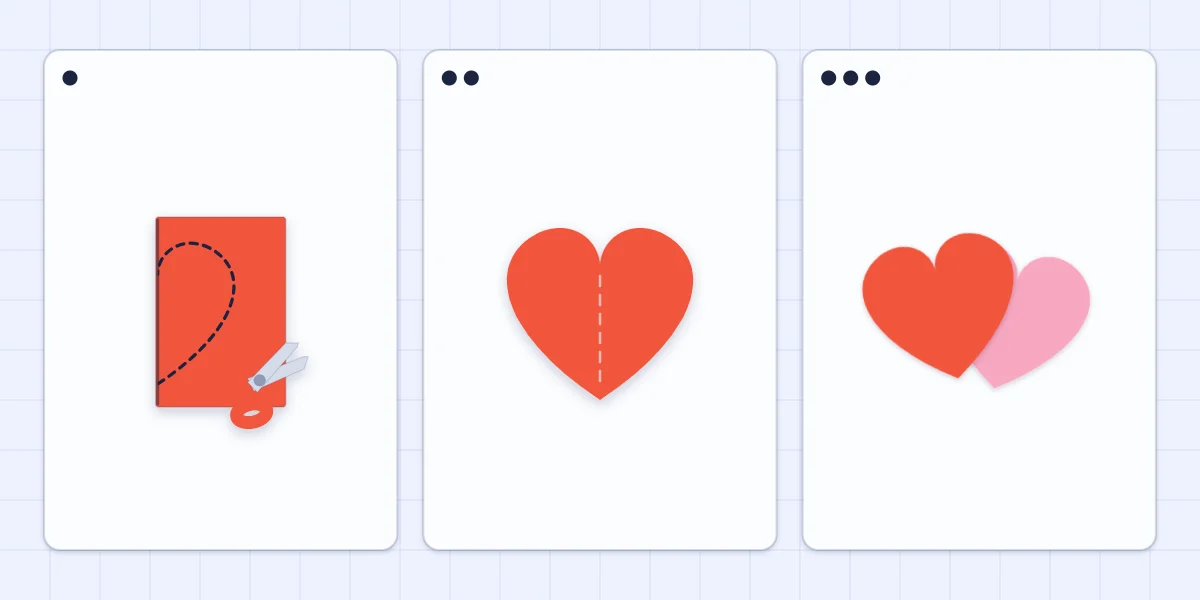
- Fold the red scrap in half with the colored side in, and crease it firmly.
- With the fold on the left, pencil half a heart against it: start at the fold about 1/2 in (1.3 cm) below the top, curve up and around for the lobe, then sweep down to a point at the bottom of the fold.
- Cut along the line in one smooth motion, turning the paper and not the scissors. Short snips leave small corners on the curve.
- Unfold the heart and flatten the crease by rubbing the back with a bone folder or the back of a spoon.
- Trace the red heart onto the folded pink scrap, or cut the pink one the same way. Aim for hearts about 2.25 in (5.7 cm) wide.
If the heart comes out too narrow, the lobe was not drawn far enough from the fold.
Overlapping the hearts
There are two ways to join the pair, and both look right on the finished card.
Simple layering. Tilt the hearts slightly toward each other and glue the pink heart down first, then the red heart over it so that it covers about a third of the pink one. The pink heart appears to tuck behind the red.
The interlocking slit. Lay the hearts in position and mark, on the red heart, the spot where the edge of the pink heart crosses its outline near the top. Cut one straight slit in the red heart from that mark to about the middle of the overlap. Slide the pink heart into the slit: above the slit it lies in front of the red heart, below the slit it passes behind. The hearts now hold each other like two links of a chain.
Watch out
Cut the slit with a craft knife on a cutting mat, blade moving away from the holding hand. It is an adult tool; with children, use the layered version.
Glue the interlocked pair as one piece, with glue only where paper touches the panel.
Building the double mat
Glue the white panel to the navy mat first. The panel is 1/4 in (6 mm) smaller in each direction, which leaves a navy border of 1/8 in (3 mm) all around. Then glue the navy mat to the pink one, and the pink mat to the card front. Working from the smallest layer outward lets you correct each border before the next layer hides your chance.
For a finer navy line, cut the white panel slightly larger so less navy shows. The guide to layering cardstock covers thin reveals and how to keep them even.
Place the hearts a little above the middle of the panel. A focal piece set at the exact center tends to look as if it is sinking.
Decorating the inside
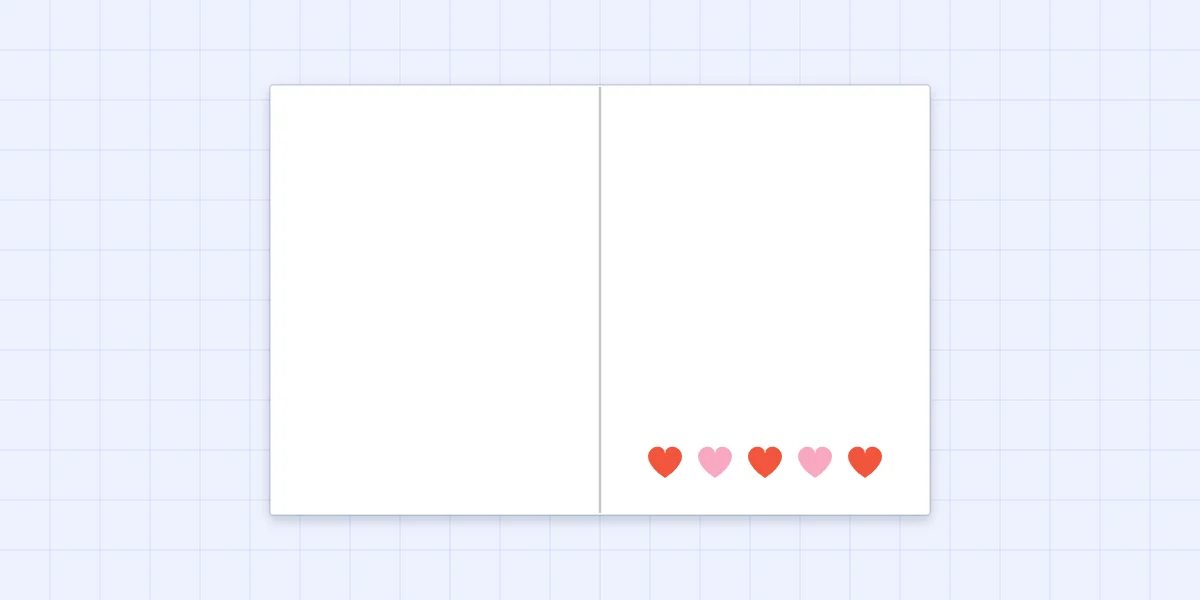
A row of five tiny hearts along the bottom of the right inside panel ties the inside to the front and leaves the space above it clear for writing. Cut the tiny hearts from folded offcuts in the same way, each about 1/2 in (1.3 cm) wide, and alternate red and pink.
Rule a faint pencil line about 1/2 in (1.3 cm) up from the bottom edge and sit the hearts on it, starting with the middle heart and spacing the others outward. Erase the line once the glue is dry.
Writing the message and finishing
Write the greeting by hand, lightly in pencil first if you are unsure of the spacing, then in pen. A short, specific line reads better than a long general one: a shared memory, the number of years, a plan for the day.
Check the front for stray pencil marks and glue before the card goes into its envelope. The steps in finishing a handmade card cover those last details. A kraft envelope supplies the fourth color of the palette.
Frequently asked questions
How do you cut two paper hearts that match?
Fold the paper in half, draw half a heart against the fold and cut through both layers at once. The two sides are identical because they are cut in the same stroke. Trace the first heart onto the second color so the pair is the same size.
Do the hearts have to interlock with a slit?
No. Gluing one heart over the edge of the other gives nearly the same look and needs only scissors. The slit version, where one heart passes through the other, is a small extra for adults comfortable with a craft knife.
Can this card be used for a wedding or engagement?
Yes. The front has no words, so the occasion is set by the handwritten message inside. Changing the deep and soft colors, for example navy with pale blue, shifts the mood without changing the design.