Pop-Up Card Basics: The Box Fold and the V-Fold
The two mechanisms behind most pop-up cards, explained step by step: the box fold cut across the center fold and the V-fold glued across it, plus how to keep both inside the closed card.
Tutorial at a glance
Materials
- Outer card, 8.5 x 5.5 in (21.6 x 14 cm), scored at 4.25 in
- Liner of lighter cardstock, 8 x 5.25 in (20.3 x 13.3 cm), scored at 4 in
- Strip of cardstock, 1.5 x 4 in (3.8 x 10 cm), for the V-fold
- Scraps for a star and a heart
- Scissors, or a craft knife, metal ruler and cutting mat
- Ruler and pencil
- Bone folder or another scoring tool
- Glue stick or double-sided tape
- Printer paper for a test version
Nearly every pop-up card, however elaborate it looks, is built from two simple mechanisms. Learn these pop-up card basics, the box fold and the V-fold, and you can make a shape stand up inside any card with scissors, a ruler and glue.
Both are powered by the card’s own center fold. Test each idea in printer paper before cutting good cardstock.
Work on a liner, not on the card itself
Cut a pop-up into the card itself and the slits show on the outside. Use an inner liner for the mechanism and a slightly larger outer card to hide it.
For an A2 card, cut the outer card 8.5 x 5.5 in (21.6 x 14 cm) and score it at 4.25 in. Cut the liner 8 x 5.25 in (20.3 x 13.3 cm) from lighter cardstock, roughly 160-220 gsm, and score it at 4 in. Each half of the folded liner then measures 4 in (10.2 cm) from the fold to the open edge. With A4 paper, fold half a sheet for the outer card and cut the liner 1/4 in (6 mm) smaller each way.
Score every fold before bending it, as described in the guide to scoring and folding a card.
How the two mechanisms compare
| Feature | Box fold | V-fold |
|---|---|---|
| How it is made | Two parallel cuts across the center fold | A folded piece glued across the center fold at an angle |
| What it does | Pushes a shape forward on a small step | Swings a piece up to stand on the open card |
Making the box fold
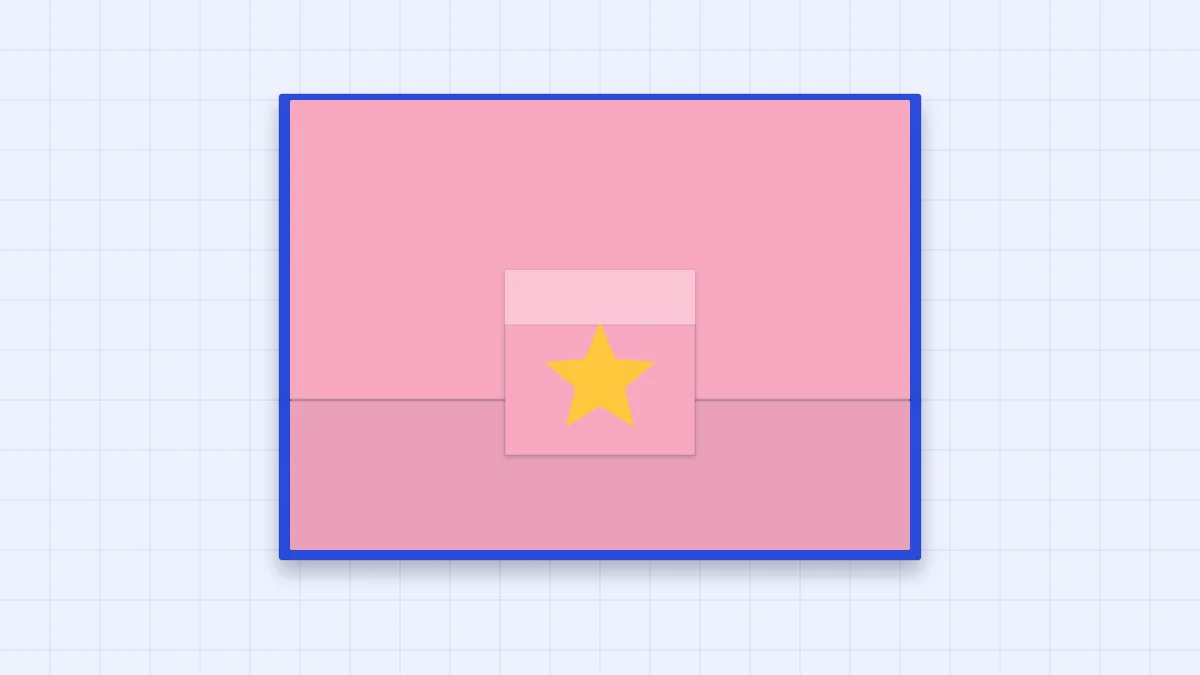
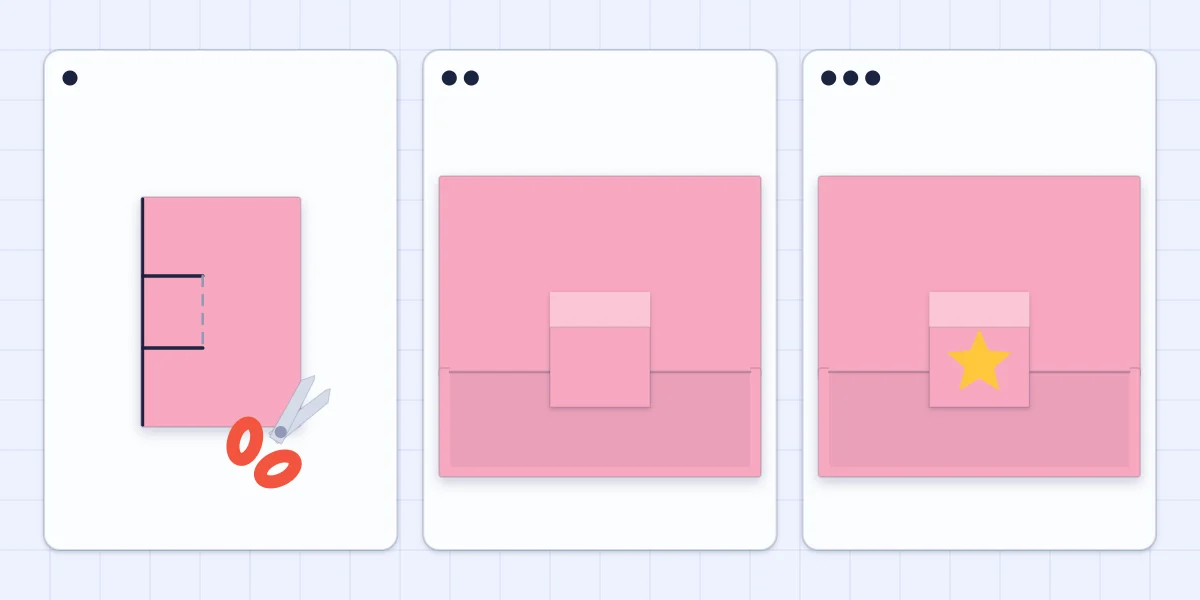
- Cut. Keep the liner folded in half. Starting at the folded edge, make two parallel cuts through both layers, each 1 in (2.5 cm) long, about 1 in (2.5 cm) apart and square to the fold. Because the liner is folded, each cut crosses the center fold and runs the same distance into both halves.
- Crease. Fold the strip between the cuts over along the line that joins the two cut ends. Press the crease, fold it back the other way, then return the strip to its starting position.
- Push the tab forward. Open the liner to a right angle. Push the tab through from behind so it stands forward as a step, its middle crease pointing toward you while the liner’s fold points away. Close the liner and press it flat.
- Add the shape. Open the liner with one half flat on the table and the other upright. The tab has a top face and a front face. Glue a star to the front face only, its lower edge level with the bottom of the tab.
Scissors work for the cuts; the guide to cutting cardstock cleanly covers the knife method. A craft knife is an adult tool.
The rule that keeps a box fold inside the card
When the card closes, the tab folds flat pointing toward the open edge of the card, and its middle crease ends up at twice the cut length from the center fold. With 1 in cuts, the flattened tab reaches 2 in (5 cm) from the fold.
That gives the rule: the depth of the tab, meaning the length of each cut measured from the center fold, must be less than the distance from the fold to the edge of the card, and in practice less than half of it. On a 4 in liner half, keep cuts under 2 in (5 cm).
The decoration needs the same check: a shape on the front face lies flat with the tab, and its top reaches the cut length plus the shape’s own height from the fold.
Watch out
Close the card and look at the open edge before gluing anything permanently. If a tab or shape shows beyond the edge, shorten the cuts on a new liner or trim the shape.
Making the V-fold
A V-fold is a separate piece folded in half and glued so its crease sits on the center fold and its halves angle away like the letter V. It lies flat in the closed card and stands up as the card opens.
- Cut and score the strip. Cut a strip 1.5 x 4 in (3.8 x 10 cm). Score a line along its length, 1/2 in (12 mm) from one long edge. The narrow part is the glue tab; the rest will stand up.
- Fold in half. Fold the strip crosswise so the short ends meet. Snip along this crease through the glue tab only, up to the scored line, so the tab becomes two separate feet.
- Fold the feet outward. With the strip still folded in half, bend one foot to each side along the scored line.
- Glue the first foot. Open the liner flat with its fold running away from you. Lay the folded strip on the right-hand half so the corner where its crease meets the scored line touches the center fold, and the scored line runs up and to the right at about 45 degrees. The body of the strip lies on the side of that line nearer to you. Glue the lower foot down.
- Glue the second foot. Put glue on the foot that faces up, then close the liner onto it and press. Closing the card places the second foot as a mirror image of the first.
- Add the shape. Open the liner. The strip stands in a V with its point toward you. Glue a small heart to one half of the strip only, right beside the point.
The strip’s crease must sit on the center fold and both feet must make the same angle with it, or the card resists closing; step five takes care of both. A shape glued across the crease would stop the strip folding.
As the card closes, the strip folds flat toward the side its point faces, so keep the point farther from that edge of the card than the height of the strip plus anything standing above it.

Gluing the liner into the outer card
Test the mechanism first, then mount the liner. Any glue that reaches a moving part will lock it, so use a glue stick or double-sided tape, not liquid glue.
- Glue the back of one half of the liner, staying clear of the box-fold tab, and press it into the outer card with the two center folds lined up.
- Glue the back of the other half, again avoiding the tab, and close the outer card onto it.
Several box folds of different depths build the pop-up birthday card with a stack of gifts. For depth without moving parts, see dimensional cards.
Frequently asked questions
Why does my pop-up stick out of the card when it is closed?
The tab is too deep or the shape on it is too tall. A box-fold tab folds flat toward the open edge and reaches twice the cut length from the center fold, and a shape on its front face reaches the cut length plus its own height. Shorten the cuts or trim the shape until both stay inside the card.
Why use a separate liner for a pop-up card?
The cuts for a box fold go right through the paper across the center fold, so they would show as slits on the outside of a single-layer card. Cutting them in a liner and gluing the liner inside a slightly larger outer card hides them and gives a neat colored border.
My V-fold makes the card hard to close. What went wrong?
Either the strip's crease is not sitting on the card's center fold or the two glue tabs are at different angles to it. Glue one tab in place, put glue on the other and close the card onto it, so the second tab lands as a mirror image of the first.