Botanical Thank-You Card With Cut Paper Leaves
Cut symmetrical paper leaves from folded scraps, crease a vein down each one and arrange them as an arching sprig or an open wreath with space for a handwritten thank-you.
Tutorial at a glance
Materials
- A2 side-fold card base in white or kraft
- White panel, 3.75 x 5 in, and an optional mat, 4 x 5.25 in
- Lighter cardstock scraps in two or three greens
- Scrap of one accent color for berries
- Small scissors, pencil and soft eraser
- Glass or jar lid about 2.5 in across
- Liquid glue and a toothpick, or a glue stick
- Hole punch (optional)
Paper leaves are forgiving to cut and quick to arrange, which makes a botanical thank-you card a good project when you want something calm and grown-up without much drawing skill. Each leaf is cut from a folded scrap so its two halves match, creased down the middle for a vein, and glued by its base alone so the tip lifts off the card.
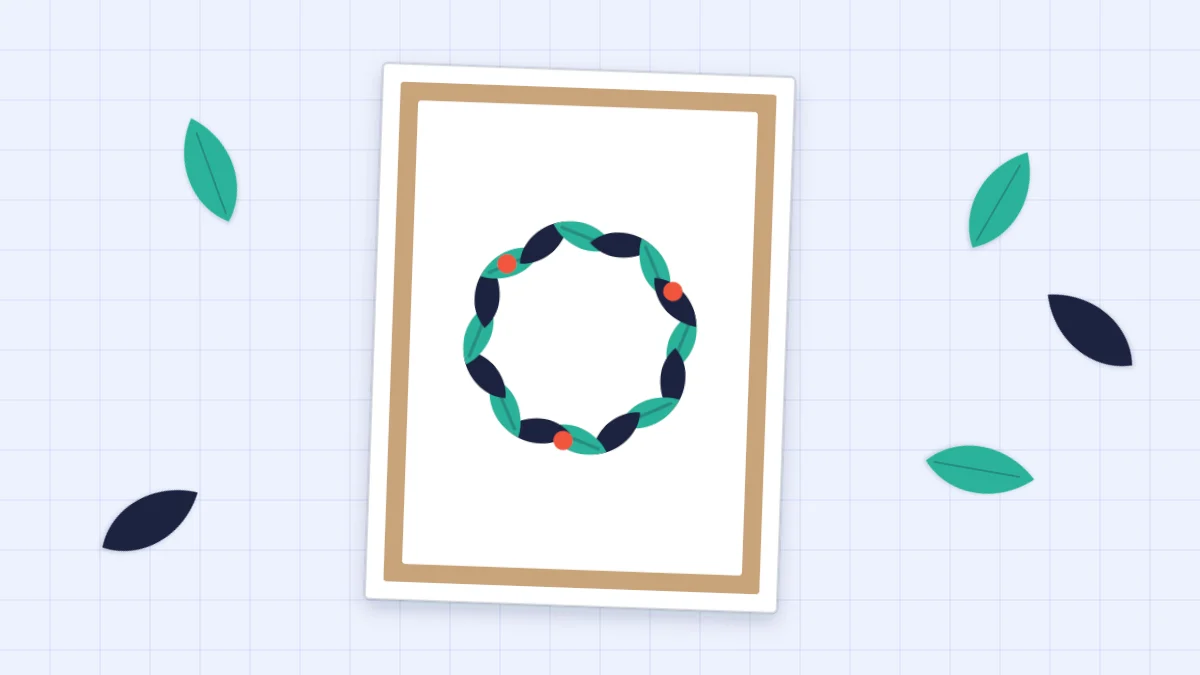
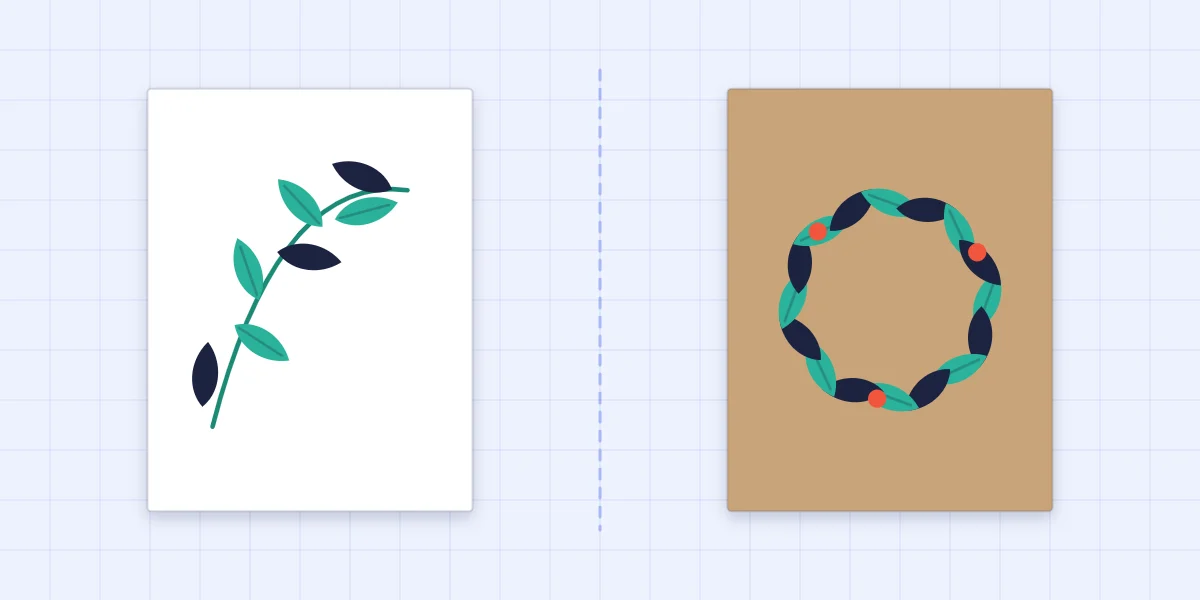
The same leaves make two different cards: a single arching sprig, or an open wreath whose empty center frames a handwritten thank-you.
What you need
- One A2 side-fold card base in white or kraft, 4.25 x 5.5 in (10.8 x 14 cm) when folded
- A white panel, 3.75 x 5 in (9.5 x 12.7 cm), and an optional mat, 4 x 5.25 in (10.2 x 13.3 cm)
- Lighter cardstock scraps in two or three greens, plus one accent color for berries
- Small scissors, a pencil and a soft eraser
- A glass or jar lid about 2.5 in (6.4 cm) across, for the wreath
- Liquid glue and a toothpick, or a glue stick
- A hole punch for berries (optional)
The base is half a US letter sheet; half an A4 sheet gives a very similar card. Lighter cardstock, roughly 160-220 gsm, holds a crisp vein and still lifts nicely.
Choose the greens
Two or three greens look more like a real plant than one. Start with a light green such as mint, then look through your stash for something darker to set against it: a deep green, a gray-green, or even navy, which reads as shadowed foliage next to mint.
Add one accent color for a few berries, such as red, and use it nowhere else on the front. For more on balancing a main color with a small accent, see the guide to choosing card color combinations.
Cut and crease the leaves
- Fold a scrap in half. A piece about 3/4 x 1 in (2 x 2.5 cm) makes one leaf. Fold it along its length with the colored side in.
- Cut half a leaf along the fold. Starting at the fold, cut a shallow curve out and back to the fold again, like half of a pointed oval. The fold is the middle of the leaf.
- Unfold it, but not all the way. The crease left down the center is the vein. Open the leaf until it is nearly flat and leave it slightly peaked, so light catches one half more than the other.
Aim for leaves about 3/4 in (1.9 cm) long and 3/8 in (1 cm) wide, and let them vary a little. A sprig needs 9 to 11 leaves; a wreath needs about 20.
For veins on a flat-cut leaf instead, the method in how to score and fold a card works at this small scale with a ruler and an empty ballpoint pen.

Arrangement one: a single arching sprig
On the loose panel, draw a light pencil curve from near the bottom left corner up toward the top right, bending like a blade of grass in wind. This is the stem. Go over it with a fine-tip pen, or leave it in pencil as a guide and cover it with a paper strip about 1/16 in (2 mm) wide.
- Lay the leaves out dry in pairs along the stem, one on each side, angled upward at about 45 degrees. Use the largest leaves near the bottom and the smallest near the tip.
- Alternate the greens loosely. Strict light-dark-light looks mechanical, so let two of the same shade sit together once or twice.
- Finish with one leaf at the very tip, pointing along the stem.
- Glue each leaf with a tiny dot of glue under its base, where it meets the stem, and nowhere else.
The open space beside the curve takes a short handwritten greeting.
Arrangement two: an open wreath
Center the glass or jar lid on the panel, slightly above the middle, and trace around it lightly. With a circle about 2.5 in (6.4 cm) across on a panel 3.75 in (9.5 cm) wide, there is room for leaves outside the line and for writing inside it.
- Decide on a direction, clockwise or counterclockwise, and point every leaf that way. Leaves that all flow in one direction look like growth; leaves pointing in and out at random look like scattered confetti.
- Glue the first leaf with its base on the line and its tip angled outward. Glue the next with its base just past the first and its tip angled inward. Keep alternating outward and inward around the circle.
- Overlap each new leaf base slightly onto the one before, so the pencil line disappears as you go.
- Tuck three to five berries into the wreath, in one or two small clusters instead of evenly spaced.
Keep the center clear: the handwritten thanks goes there and needs a space at least 1.5 in (3.8 cm) wide.
Sprig or wreath?
| Arching sprig | Open wreath | |
|---|---|---|
| Leaves needed | 9 to 11 | About 20 |
| Guide line | One freehand curve | A circle traced around a glass or lid |
| Where the greeting goes | Beside the curve | In the center |
| Look | Light and airy, lots of white space | Fuller and more formal |
Glue only the base of each leaf
The lifted tips are what make this card. Put a small puddle of liquid glue on a scrap, pick up a dot with a toothpick and touch it to the underside of the leaf at its base. Press that spot with a fingertip and leave the rest free.
Watch out
Glue spread along the whole leaf flattens the crease and often squeezes out at the edges, where it dries shiny. If a leaf does go down flat, lift the tip with a fingernail before the glue sets.
Berries are the opposite: glue them down completely so they do not catch. Punch them with a hole punch, or cut small circles about 1/4 in (6 mm) across by hand. Keep such small pieces away from very young children.
Finish and write the thanks
Erase stray guide lines only after the glue has dried fully. Mount the panel on the mat and the card base, pressing only on the bare areas so the leaves stay raised. Write the greeting in pencil first, then in pen. Other last checks, such as cleaning glue smears, are covered in finishing a handmade card.
The same leaf method in warm colors makes the autumn leaf card, so extra leaves cut here are never wasted.
Frequently asked questions
How do I cut paper leaves that are symmetrical?
Fold a small scrap in half and cut half a leaf shape starting and ending on the fold. When you open it, both sides match and the fold line becomes the center vein. Cutting several along one folded strip is faster than folding a scrap for each leaf.
How many leaves does a wreath card need?
For a circle about 2.5 in (6.4 cm) across with leaves about 3/4 in (1.9 cm) long, plan on about 20 leaves. Cut a few extra in each green so you can swap sizes and shades as you arrange them.
Why glue only the base of each leaf?
A leaf held by its base keeps its center crease and its tip lifts off the card, which gives a real shadow and a natural look. Glue under the whole leaf flattens it and tends to squeeze out at the edges.