Stamped-Style Card Designs With Homemade Stamps
Make your own stamps from craft foam, erasers, corks and bottle caps, then print repeat patterns for original handmade cards.
Tutorial at a glance
Materials
- Thin craft foam or a clean foam packaging tray
- Thick cardboard blocks, bottle caps or corks for handles
- White eraser or pencil with an eraser top
- Scissors
- Craft knife and cutting mat (adult use)
- Liquid glue
- Water-based ink pad, or acrylic or poster paint and a piece of sponge
- Scrap paper and smooth cardstock
Homemade stamps give a card the slightly uneven, hand-printed look that makes stamped designs appealing, and you can make them from things already in the house. A scrap of craft foam, an eraser, a cork and a bottle cap are enough to print hearts, dots, triangles and stars in any color you like.
Keep the shapes simple. A stamp prints a silhouette, so a plain leaf or heart reads clearly while fine detail fills in with ink and disappears.
What you need
- A sheet of thin craft foam, or a clean foam tray from packaging
- Small blocks of thick cardboard, plus bottle caps or corks to use as handles
- A white eraser or a pencil with an unused eraser top
- Scissors, and a craft knife for carving (adult use only)
- Liquid glue
- A water-based ink pad, or acrylic or poster paint with a piece of kitchen sponge
- Scrap paper for testing and smooth cardstock for the final prints
Making simple stamps from household materials
Every homemade stamp has two parts: a flat raised shape that carries the ink, and a handle that lets you press evenly without inking your fingers.
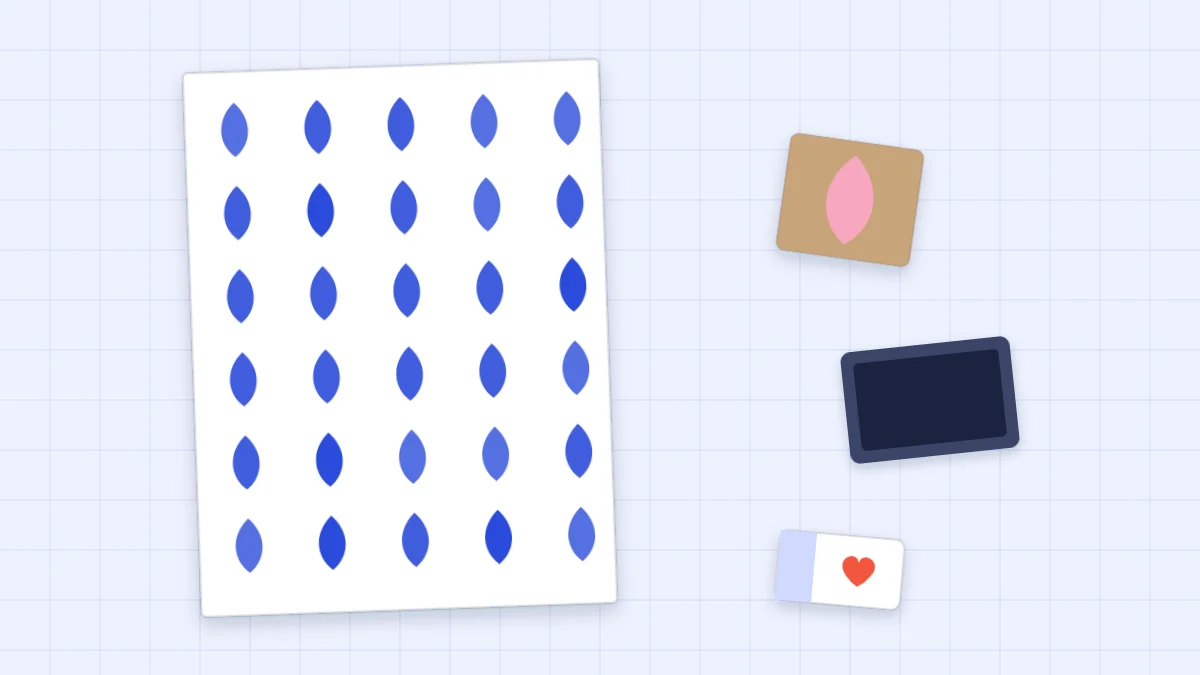
- Foam on a block. Draw a heart about 1 inch (2.5 cm) wide on craft foam, cut it out with scissors and glue it to a slightly larger block of cardboard. Two layers of cardboard glued together make a block that is easy to grip.
- A cork. The flat end of a cork prints a dot with no preparation at all. If the end is rough, rub it on fine sandpaper or a nail file until it is level.
- A carved eraser. Draw a triangle on the top of a white eraser. With a craft knife, cut straight down along the lines, then slice in from the sides to remove the eraser around the shape, leaving the triangle standing proud. This is a job for an adult: work on a cutting mat and cut away from the hand that holds the eraser.
- Foam on a bottle cap. Cut a small star from foam and glue it to the flat top of a cap. The cap is a comfortable handle for small shapes.
Let the glue dry fully before inking, or the foam will slide on the first press. Remember that a stamp prints its mirror image. For hearts, dots and stars that changes nothing, but a leaf that leans left on the stamp will lean right on the card.

Other things that print
Texture stamps need no cutting. They fill a background quickly and sit well behind a bolder shape.
| Stamp | What it prints | How long it lasts |
|---|---|---|
| Craft foam on a block | Clean solid shapes | Many sessions if rinsed and dried |
| Carved eraser or pencil top | Small crisp shapes and dots | Many sessions |
| Cork | Slightly speckled dots | Many sessions |
| Bubble wrap taped around a block | A grid of small rings | A few sessions |
| Corrugated card, ridged side | Parallel stripes | One session, as it softens when wet |
| Cut potato | Soft-edged simple shapes | One day, then it dries out |
For a potato stamp, blot the cut face dry with a paper towel before printing. A wet potato thins the paint and gives pale, blotchy prints.
Inking with a pad or with paint
A water-based ink pad is the tidiest option. Tap the stamp on the pad several times rather than grinding it in, and look at the surface: it should be evenly shiny with no dry patches.
Paint works just as well. Spread a thin layer of acrylic or poster paint on a plate, dab a piece of damp sponge in it, and pat the sponge onto the stamp. Applying paint with the sponge matters because dipping the stamp straight into paint loads the edges, and the excess squeezes out as a blurry outline.
Press the stamp straight down, hold it still with even pressure, and lift straight up. Rocking or sliding it smears the print. A few sheets of scrap paper under the cardstock help the whole shape make contact.
Tip
Print on smooth cardstock. Heavily textured sheets leave white specks in every shape, which can look charming on a background and patchy on a focal piece.
Test prints and second-generation prints
Always print on scrap first. A test shows whether the stamp is level, how much ink it wants and whether an edge of the block is catching the paper. If the block prints a line, trim it closer to the shape.
Testing also reveals a useful effect. Ink the stamp once and print three times without re-inking. The first print is solid, the second is softer and the third is pale. These first, second and third-generation prints give you three tones from one color, which is an easy way to add variety without mixing anything. Choosing the color itself is easier with the guide to card color combinations that look planned.
Repeat patterns
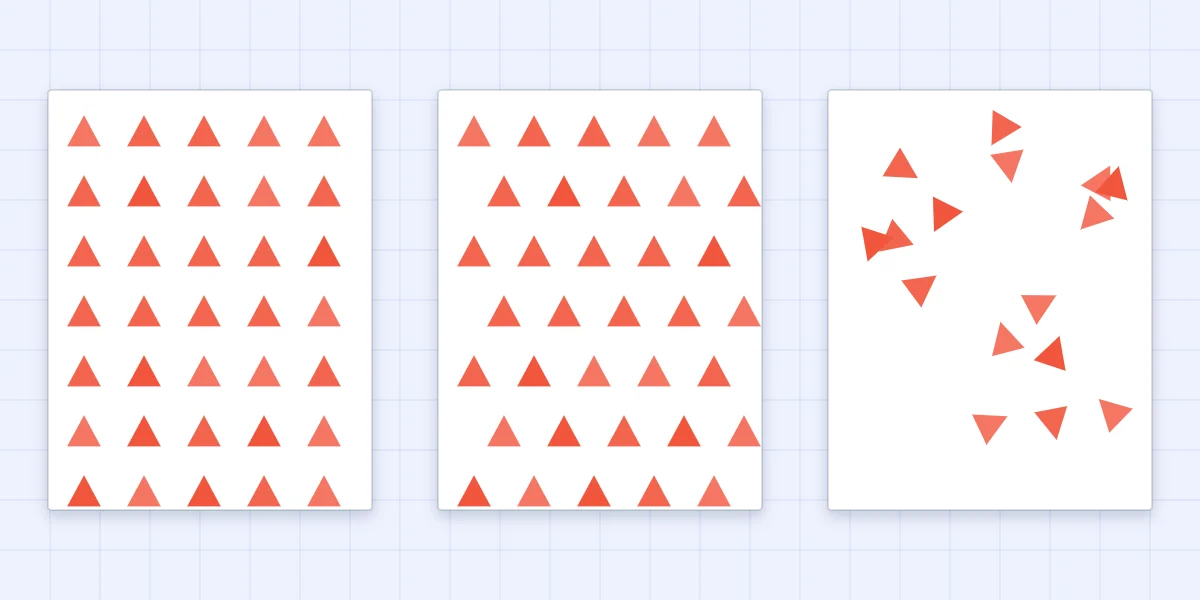
One stamp and three arrangements cover most needs. A triangle works well for practice because it shows clearly when a print is crooked.
- Straight rows. Print the shapes in lines, each one directly below the one above. Light pencil guide lines keep the rows level, and you can erase them once the ink is dry.
- Half-drop. Shift every other row sideways by half a space, so each shape sits below the gap in the row above. The pattern looks denser and more like printed fabric.
- Random scatter. Turn the stamp a little each time and vary the gaps. Let some prints run off the edge of the panel, which keeps a scatter from looking like a failed grid.
Print on a piece of cardstock larger than the panel you need and trim afterward. Shapes cut off cleanly at the edge make the pattern look continuous.
Turning prints into cards
Let every print dry before you stack, trim or glue it. Paint stays wet longer than ink, and a damp print will transfer to whatever lies on top of it. Touch a test print on the scrap sheet, not the real one, to check.
Once dry, trim the printed sheet into a clean panel, frame it with a mat as described in the guide to layering cardstock, and mount it on a card base. A patterned panel is busy, so keep the rest of the card plain and leave a blank band or the inside of the card for your handwritten greeting.
Rinse foam and eraser stamps in plain water, pat them dry and store them flat.
Frequently asked questions
What can I use to make a stamp at home?
Craft foam glued to a cardboard block or bottle cap is the easiest choice. A cork prints dots as it is, a white eraser can be carved into a small shape by an adult, and a cut potato works for a single day of printing.
Can I use paint instead of an ink pad?
Yes. Spread a thin layer of acrylic or poster paint on a plate and pat it onto the stamp with a damp sponge. Dipping the stamp directly into paint overloads the edges and blurs the print.
Why are my stamped prints patchy?
The stamp is usually under-inked, not level, or pressed onto a hard or textured surface. Tap on more ink, put a few sheets of scrap paper under the cardstock and press straight down with even pressure. Smooth cardstock prints more cleanly than textured sheets.