Layering Cardstock: Mats, Borders and Clean Reveals
How to mat a card panel: the size of each layer, how to keep the borders even, which mat colors to choose, and when to use a double mat or an offset layer.
Tutorial at a glance
Materials
- A2 card base
- Lighter cardstock in one or two mat colors
- White or light cardstock for the panel
- Paper trimmer, or craft knife, metal ruler and cutting mat
- Ruler and pencil
- Liquid glue, glue stick or double-sided tape
- Scrap paper for gluing on
Most handmade cards that look finished have one thing in common: the main panel sits on a slightly larger piece of colored paper that frames it. Layering cardstock this way is called matting, and the narrow strip of mat that shows around the panel is the reveal. It is a small detail that does a lot of work, separating the panel from the card base and tying the colors together.
The technique needs no special tools. It depends on two things only: cutting each layer a consistent amount smaller than the one beneath, and gluing it down so the border is the same width on all four sides.
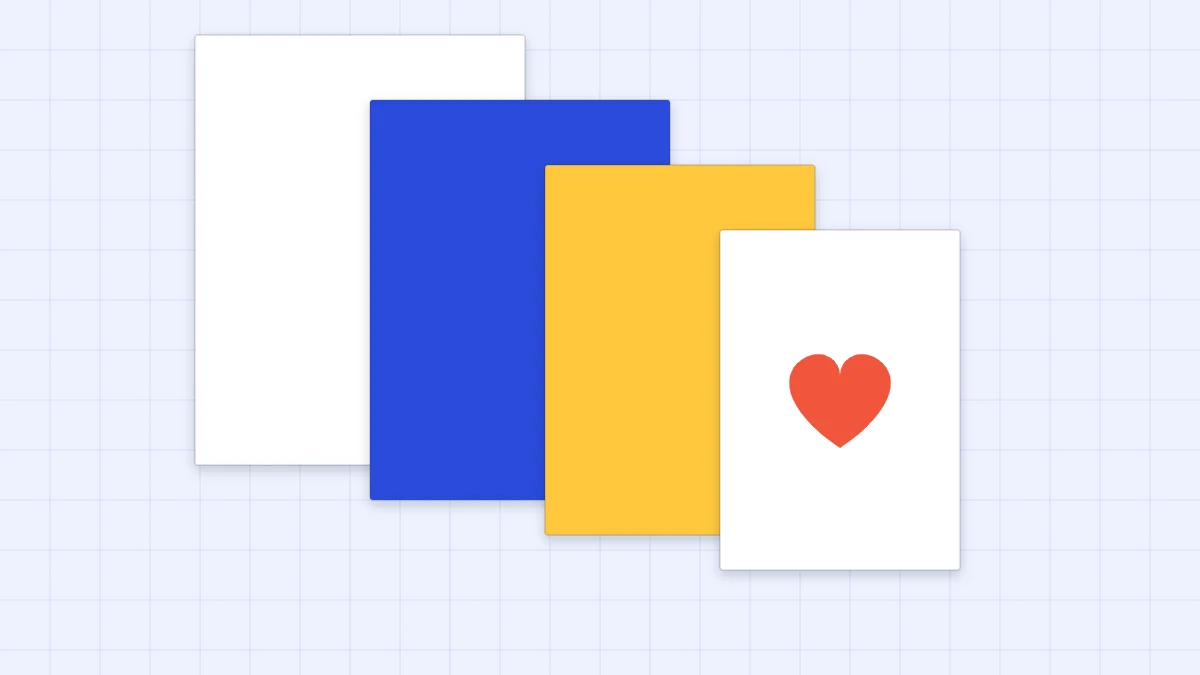
The order of the layers
A layered card front is built from the bottom up in a fixed order:
- Card base. The folded card itself, usually the heaviest paper in the stack.
- Mat. A colored rectangle a little smaller than the card front.
- Panel. The piece that carries the design, a little smaller again.
- Focal piece. The heart, flower or other shape that the eye goes to first.
Mats and panels are normally cut from lighter cardstock than the base, roughly 160-220 gsm, so the card front does not become stiff and heavy. The guide to cardstock weights and finishes explains which papers suit which layer.
Layer sizes for an A2 card
The working rule is simple. Cut each layer 1/4 in (6 mm) smaller in both directions than the layer beneath it, and you get a border of 1/8 in (3 mm) all around. For an A2 card, 4.25 x 5.5 in (10.8 x 14 cm), that gives the sizes below.
| Layer | Standard reveal | Double mat |
|---|---|---|
| Card front | 4.25 x 5.5 in (10.8 x 14 cm) | 4.25 x 5.5 in (10.8 x 14 cm) |
| First mat | 4 x 5.25 in (10.2 x 13.3 cm) | 4 x 5.25 in (10.2 x 13.3 cm) |
| Second mat | None | 3.75 x 5 in (9.5 x 12.7 cm) |
| Panel | 3.75 x 5 in (9.5 x 12.7 cm) | 3.5 x 4.75 in (8.9 x 12.1 cm) |
For other card sizes, including a card folded from half an A4 sheet, measure the card front and subtract 1/4 in (6 mm) from both the width and the height for each layer. Accurate cutting matters more here than anywhere else in card making, because a mat that is slightly out of square shows as a border that tapers. The article on cutting cardstock cleanly covers how to get square corners.
Wide and thin reveals
The 1/8 in border is a dependable default, but the width of the reveal changes the character of the card.
- Wide reveal. Cut the panel 1/2 in (12 mm) smaller than the mat for a border of about 1/4 in (6 mm). The mat becomes a strong band of color, almost a frame. It suits simple panels and bold colors.
- Thin reveal. Cut the panel only 1/8 in (3 mm) smaller than the mat for a border of about 1/16 in (1.5 mm). This reads as a fine outline and looks crisp and formal.
Thin reveals are less forgiving: a small placement error makes one side look twice as thick as the other. Practice with the standard size first.

Choosing mat colors
A mat should support the panel, not compete with it. Three approaches work on almost any card:
- Pull a color from the focal piece. A red heart on a white panel with a red mat looks connected, because the color appears twice.
- Put a neutral between two brights. If the base and the panel are both strong colors, a white, cream, kraft or navy mat between them keeps the edge clean.
- Go darker for definition. A mat darker than the panel draws a clear outline. A mat lighter than the panel tends to fade against a white base.
For more on building a palette, see the guide to card color combinations.
Gluing layers flat and even
Glue each pair of layers separately: the panel onto its mat first, then the mat onto the base.
- Turn the upper layer face down on scrap paper and apply glue from the center outward, running right off the edges onto the scrap. Corners with no glue are the first to lift.
- Hold the layer by its edges above the lower piece and line up one corner so the border looks equal on the two sides that meet there.
- Lower the rest of the layer, check the other two sides, and nudge it before the glue grabs.
- Cover with clean paper and smooth from the center outward to push out air.
Lining up by eye works well with a 1/8 in border. For more certainty, set the lower layer along the lines of a gridded cutting mat, or measure the border with a ruler at two corners. Liquid glue gives a little time to slide a layer into place; double-sided tape grabs at once.
Double mats and offset layers
A double mat adds a second line of color. Use the sizes in the table above. Two mats in contrasting colors, such as cobalt and yellow, give a bright, celebratory frame; two shades of one color are quieter.
Offset layers break the centered rule on purpose. Cut a panel noticeably smaller than the layer beneath and shift it up and to one side, so the borders are clearly unequal: narrow at the top and left, wide at the bottom and right. The difference has to be obvious. A panel that is 1/16 in off center looks like a mistake, while one that is 1/2 in off looks designed. The wide side of the offset is a natural place for a handwritten greeting.

Keeping the bulk reasonable
Every layer adds thickness and weight. A base, one mat, a panel and a focal piece is plenty for most cards, and a double mat is about the limit before the front starts to feel like a board and the card no longer closes flat.
Watch out
Thick or rigid cards can cost more to mail. If a heavily layered card is going in the post, check with your postal service before sending it.
To reduce bulk, cut mats from lighter cardstock. If you want real depth instead of flat layers, raise only the focal piece on foam squares; the guide to dimensional cards explains how.
Frequently asked questions
What size should a mat be for an A2 card?
For an A2 card front of 4.25 x 5.5 in (10.8 x 14 cm), cut the mat 4 x 5.25 in (10.2 x 13.3 cm) and the panel 3.75 x 5 in (9.5 x 12.7 cm). Each layer is 1/4 in (6 mm) smaller than the one beneath, which leaves a 1/8 in (3 mm) border all around.
Why do my mat borders look uneven?
Either the layer was placed slightly off center or one of the pieces is not square. Stack the two pieces with one corner matched and look along the edges. If the gap widens, recut the piece; if it stays even, the problem is placement, and a slower-grabbing liquid glue will give you time to adjust.
How many layers can a card have?
A base, one or two mats, a panel and a focal piece is enough for most designs. More layers make the front stiff and heavy, and thick or rigid cards can cost more to mail, so check with your postal service if in doubt.