Paper Strip Card: An Easy Design That Uses Up Scraps
Glue scrap strips of mixed widths across a backing piece, trim the overhang in one pass and mount the striped panel on an A2 card base.
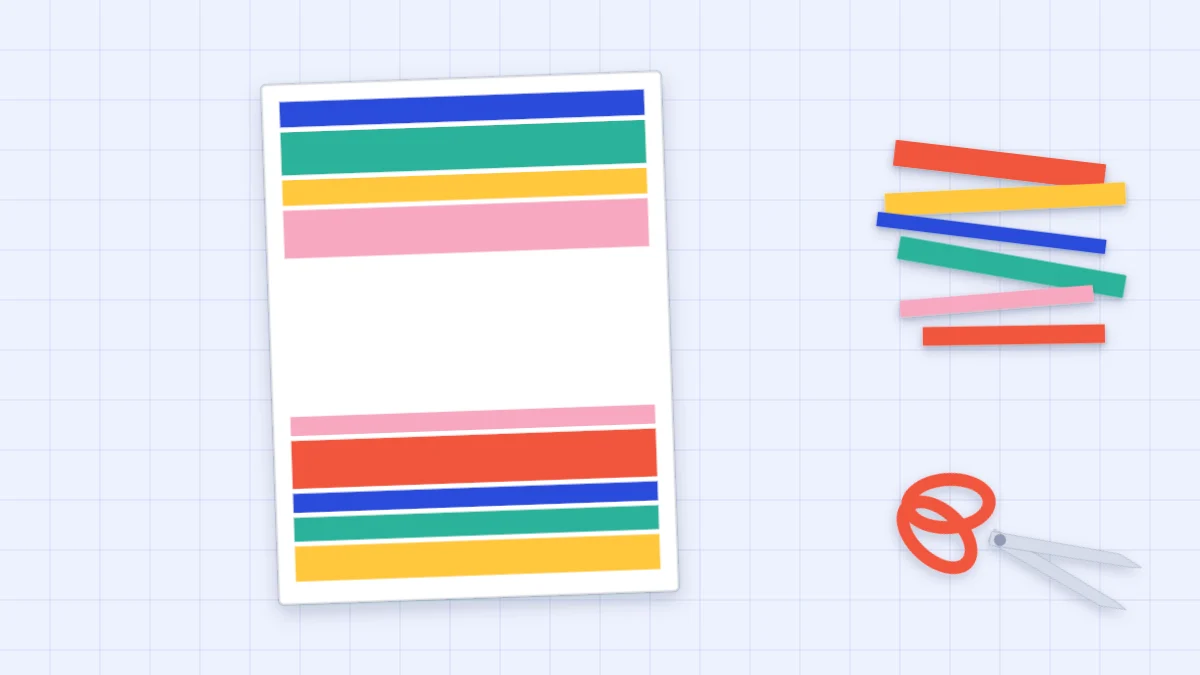
Tutorial at a glance
Materials
- Scraps of cardstock and patterned paper
- White backing piece, about 4 x 5.25 in (10.2 x 13.3 cm)
- Solid-color mat, 4 x 5.25 in (10.2 x 13.3 cm)
- A2 card base
- Paper trimmer, or craft knife, metal ruler and cutting mat
- Scissors, pencil and ruler
- Glue stick or liquid glue
- Bone folder or the back of a spoon
A paper strip card turns the offcuts left over from other projects into a striped front panel that looks deliberate. You glue strips of mixed widths across a backing piece, let the ends hang over the sides, then trim everything square in one pass. No strip has to be cut to an exact length, which is what makes the design so forgiving.
The finished panel is matted and mounted on a standard A2 card base, 4.25 x 5.5 in (10.8 x 14 cm) folded. Leave one plain band among the stripes and you have a ready-made place for a handwritten greeting.
What you need
- Scraps of cardstock and patterned paper in three to five colors
- A backing piece of white cardstock or sturdy paper, about 4 x 5.25 in (10.2 x 13.3 cm)
- A solid-color mat, 4 x 5.25 in (10.2 x 13.3 cm)
- An A2 card base: a piece of heavier cardstock 8.5 x 5.5 in (21.6 x 14 cm), scored and folded at 4.25 in
- A paper trimmer, or a craft knife, metal ruler and cutting mat
- Scissors, a pencil and a ruler
- A glue stick or liquid glue, plus a sheet of scrap paper
- A bone folder, or the back of a spoon
With A4 paper, half a sheet folded in two gives a very similar card; size the mat and panel to keep the same borders.
Choosing and cutting the strips
Sort your scraps before you cut. Three to five colors that sit well together look planned; the guide to card color combinations explains how to pick a main color and an accent.
Cut strips between about 1/4 in (6 mm) and 1 in (2.5 cm) wide. Mixed widths are the point of the design, so do not measure each one. Length matters more: every strip should be at least 4.5 in (11.5 cm) long so it overhangs both sides of the backing. A strip that stops short leaves a gap you cannot fix after trimming.
The long edges need to be straight, because the strips sit side by side and a wavy edge shows as a sliver of white backing. A paper trimmer is the quickest way to get them; the article on cutting cardstock cleanly covers knife and scissors methods too. A craft knife is an adult tool: cut on a cutting mat and away from the holding hand.
Gluing the strips and trimming the panel
- Arrange the strips dry. Lay them across the backing in the order you like. Alternate wide and narrow, and keep similar colors apart.
- Draw a guide line. Rule a light pencil line across the backing near the top, square to the side edge. If the first strip goes on crooked, every strip after it drifts further.
- Glue the backing, not the strips. Cover a band of the backing about two strips deep, right out to both side edges. Press the first strip along the pencil line with its ends hanging over both sides.
- Work down the panel. Butt each new strip tight against the one before it and add glue to the backing as you go. Let the last strip hang over the bottom edge rather than trying to finish flush.
- Burnish. Lay scrap paper over the panel and rub firmly with a bone folder or the back of a spoon, paying attention to the long edges of each strip.
- Flip and trim. Let the glue dry fully, then turn the panel face down. On the back, mark a rectangle 3.75 x 5 in (9.5 x 12.7 cm), about 1/8 in (3 mm) in from each edge of the backing, and cut along the marks.
Trimming from the back lets you see the pencil marks, and the blade pushes the strips down onto the backing instead of lifting their ends.

Glue coverage: how to stop strip edges lifting
Lifted edges are the usual fault on a strip card, and they come from glue that stopped short of the edge of a strip. An unbroken layer of adhesive on the backing solves most of it.
| Adhesive | How to use it here | What can go wrong |
|---|---|---|
| Glue stick | Rub over the backing in overlapping passes, a band at a time | Dries quickly, so a wide glued area may be dry before you reach it |
| Liquid glue | Spread thin with a scrap of card so there are no beads | Too much squeezes out between strips and wrinkles thin paper |
| Double-sided tape | Cover the backing in rows with no gaps | No repositioning; a gap between rows leaves a loose edge |
Tip
If a strip edge lifts after the panel is dry, slide a little glue under it on the tip of a toothpick, press it down under scrap paper and wipe away anything that squeezes out.
Matting and mounting the panel
Glue the trimmed panel to the center of the 4 x 5.25 in mat, which leaves a 1/8 in (3 mm) border all around, then glue the mat to the card front with the same border again. Pick the mat color from one of the strips. The guide to layering cardstock shows how to keep those borders even.
Press the finished card under a heavy book while the glue dries so the layers stay flat.
Variations on the strip card
The method stays the same for each of these; only the order or angle of the strips changes.
- Diagonal strips. Rule the guide line from corner to corner and start with the center strip, then work outward both ways. Strips near the middle need to be longer, about 7 in (18 cm), to cover the diagonal with overhang.
- Rainbow order. Arrange the strips from red through orange, yellow and green to blue. Keep widths similar so the color order reads clearly.
- Tone-on-tone. Use three shades of one color, such as light, mid and dark blue, repeated down the panel. This version suits sympathy and formal cards.
The same stacked-strip idea, cut to decreasing lengths, makes the paper strip Christmas tree card.

Leaving a blank band for the greeting
Stripes from top to bottom leave nowhere to write on the front. The simplest answer is to include one wide strip of plain white or cream, about 1 in (2.5 cm), a little above or below the middle of the panel. After the card is assembled, write the greeting on that band with a fine-tip pen. Pencil it lightly first and check the spacing.
If you would rather keep the stripes uninterrupted, write the greeting inside the card instead.
Frequently asked questions
Can I mix patterned paper and cardstock strips on the same panel?
Yes. Patterned paper is thinner than cardstock, so the surface will be very slightly uneven, but it does not show once the panel is burnished and matted. Use a thin, even layer of glue under the thinner strips so they do not wrinkle.
Why trim the strip panel from the back?
On the back you can mark the final size clearly on the plain backing, and the blade presses the strips down onto the backing as it cuts instead of lifting their ends. Let the glue dry fully first so no strip slides under the ruler.
How wide should the strips be?
Anything from about 1/4 in (6 mm) to 1 in (2.5 cm) works on an A2 card. A mix of widths looks livelier than strips that are all the same, and one wider plain strip gives you a band to write on.