5 Simple Handmade Cards You Can Make With Basic Supplies
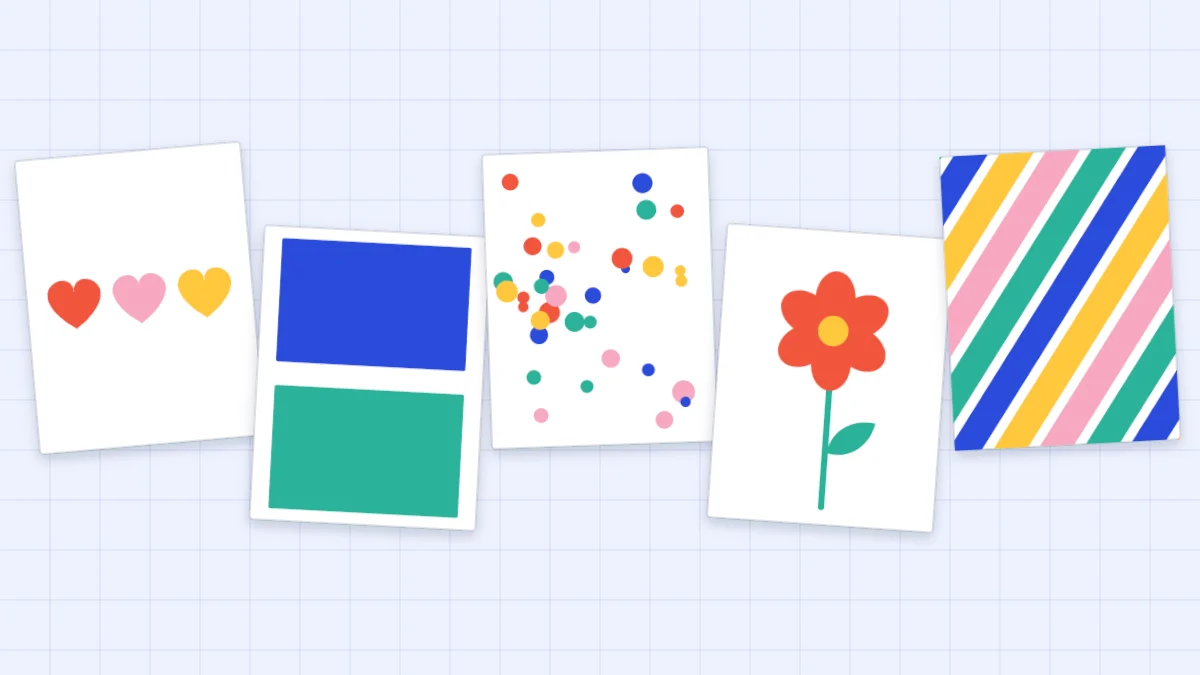
Five easy card designs made from plain cut-paper shapes: three hearts, color blocks, confetti dots, a single flower and diagonal stripes.
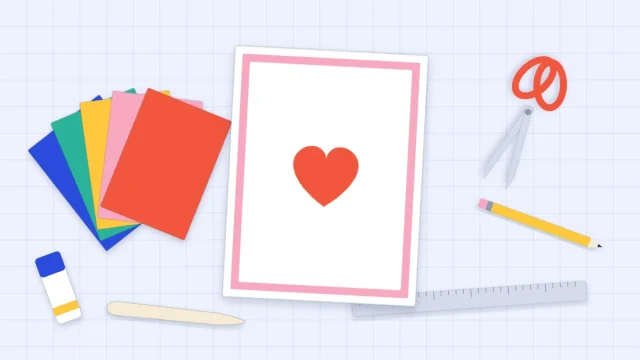
Tutorial at a glance
Materials
- White cardstock for card bases
- Cardstock scraps in several colors
- Scissors
- Ruler and pencil
- Bone folder or blunt butter knife
- Glue stick or liquid glue
- Hole punch (optional)
- Fine-tip pen for the greeting
Simple handmade cards rely on plain shapes placed carefully: a heart, a rectangle, a dot, a strip. None of the five designs below needs a punch, a stamp or a machine. Scissors, a ruler, a pencil, glue and a handful of cardstock scraps are enough, and every design leaves room for a greeting in your own handwriting.
The five cards are a row of three hearts, a two-color block card, a confetti dot card, a single flower and a diagonal stripe card. Each suits almost any occasion, because the words you write decide what the card is for.
Start with an A2 base
All five cards use the standard A2 size, 4.25 x 5.5 in (10.8 x 14 cm) folded. Cut a piece of white cardstock to 8.5 x 5.5 in, score it at 4.25 in and fold. One letter sheet makes two bases, and an A4 sheet cut in half gives a very similar card. If your edges or creases come out uneven, the guides on cutting cardstock cleanly and scoring and folding a card cover both skills.
Shape sizes below are suggestions. Lay the pieces on the card before gluing and adjust by eye.
Tip
Arrange everything dry first, then lift and glue one piece at a time. A glue stick is the easiest adhesive for small flat shapes, since it does not ooze out at the edges.
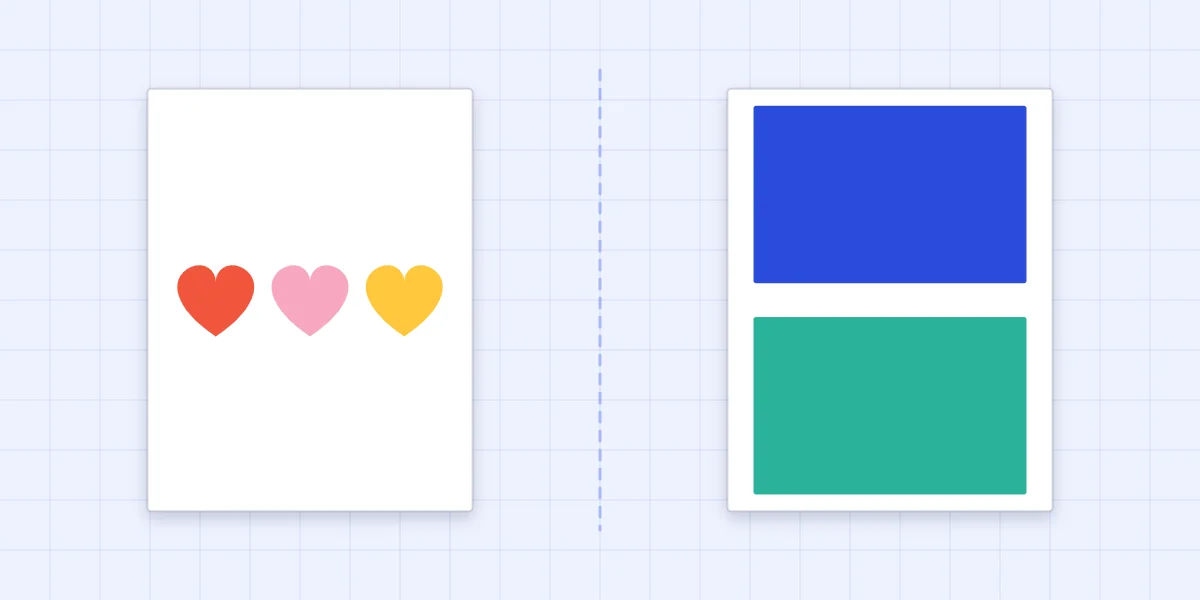
1. A row of three hearts
What you need: a white base and scraps of red, pink and yellow cardstock.
- Fold a scrap in half, draw half a heart against the fold, about 1 inch (2.5 cm) tall, and cut it out. Unfold it and use it as a template to cut one heart from each color.
- Draw a faint pencil line across the card front, a little above the middle.
- Glue the three hearts along the line with equal gaps between them and equal margins at the sides.
- Erase the line once the glue is dry. The space beneath the hearts is for the greeting.
2. A color-block card
What you need: a white base and two pieces of cardstock in colors that sit well together, such as cobalt blue and mint.
- Cut one rectangle of each color, 4.25 in (10.8 cm) wide. Make the upper one about 3 in (7.5 cm) tall and the lower one about 2.25 in (5.7 cm) tall.
- Glue the upper block flush with the top and side edges of the card front.
- Glue the lower block flush with the bottom edge. A narrow white gap, a little under 1/4 in (6 mm), is left between the two blocks.
The gap is what makes this design look crisp, so check that it is the same width at both ends before pressing down. Write the greeting inside, or on a small white strip glued across one block.
3. A confetti dot card
What you need: a white base and small scraps in four or five colors. A hole punch is handy but optional.
- Punch or hand-cut 20 to 30 small dots. To cut them by hand, trace around a pencil end or a small coin and cut inside the line. Slightly uneven circles look fine once scattered.
- Scatter the dots thickly across the top of the card front and thin them out toward the middle, as if they were falling.
- Glue each dot with a tiny touch of liquid glue or a dab from a glue stick, lifting one at a time so the arrangement stays put.
Leave the lower half of the card empty for the greeting. Keep loose dots and other small pieces away from very young children.
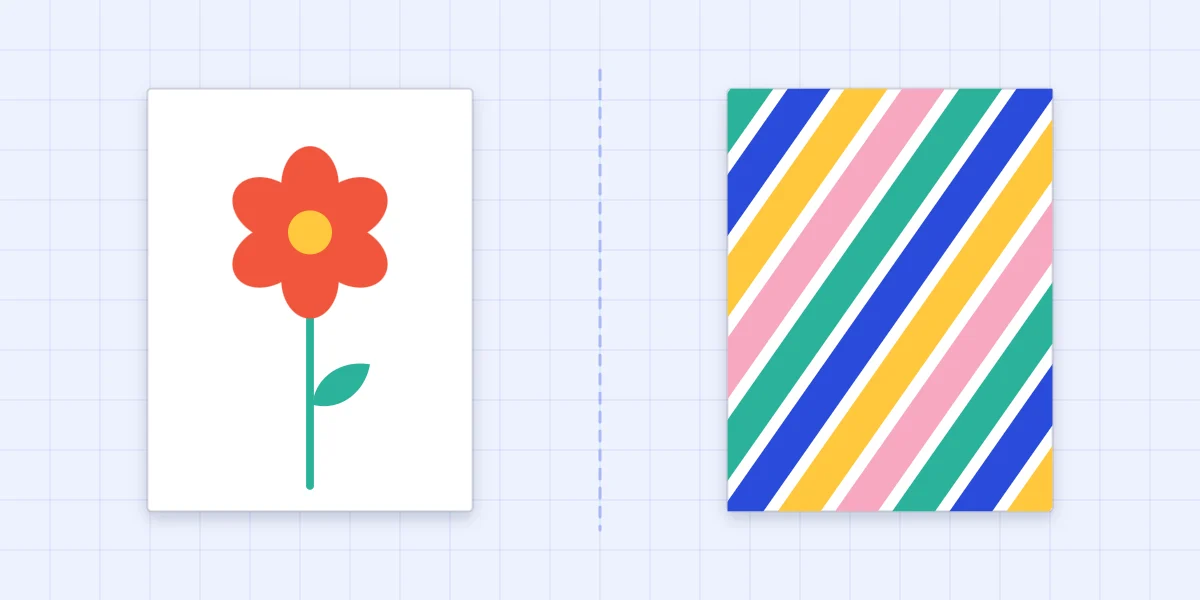
4. A single flower with a stem
What you need: a white base, a scrap for the petals, a small scrap of yellow for the center and a strip of green.
- Cut five rounded petals, each about 3/4 in (2 cm) long, and a yellow circle about 1/2 in (1.3 cm) across. Stack the scraps and cut the petals together so they match.
- Cut a green stem about 1/8 in (3 mm) wide and 2.5 in (6.5 cm) long, plus one pointed leaf.
- Glue the stem first, standing upright a little left or right of center. Arrange the petals in a ring at its top with their inner ends touching, then glue the circle over the middle to hide the joins.
- Tuck the leaf against the stem, about halfway up.
Placing the flower off-center leaves a clear column beside it for the greeting.
5. A diagonal stripe card
What you need: a white base, a white cardstock panel of 4 x 5.25 in (10.2 x 13.3 cm) and strips of cardstock in four colors, such as blue, yellow, pink and mint.
- Cut strips about 1/2 in (1.3 cm) wide and at least 7 in (18 cm) long, so they reach across the panel on a slant.
- Glue the first strip diagonally across the middle of the panel, letting both ends hang over the edges. Add strips on either side, parallel to the first, leaving a narrow white gap between each.
- When the glue is dry, turn the panel face down and trim the overhanging ends flush with its edges.
- Glue the panel to the center of the card front, which leaves a white border of 1/8 in (3 mm) all around.
Spread glue right to the edges of each strip so the ends do not lift after trimming. The full method, with more variations, is in the paper strip card tutorial. The stripes fill the front, so the greeting goes inside.
One design, any occasion
None of these cards says what it is for until you write on it. Changing the colors and the handwritten greeting is enough to move a design from one occasion to another.
| Design | Works well for | Where the greeting goes |
|---|---|---|
| Three hearts | Love, friendship, anniversaries, thank you | Below the hearts |
| Color blocks | Any occasion; calm colors for sympathy, bright for birthdays | Inside, or on a white strip |
| Confetti dots | Birthdays, congratulations, new year | Lower half of the front |
| Single flower | Thank you, get well, spring birthdays | Beside the flower |
| Diagonal stripes | Birthdays, congratulations, a card for anyone | Inside |
Colors do much of the work. Soft pinks and one deep red read as affectionate, bright mixed colors as festive, and white with one muted color as quiet. If choosing feels like guesswork, the guide to card color combinations gives ready-made palettes.
Frequently asked questions
What is the easiest handmade card to make?
A row of three paper hearts on a white folded base is about as easy as it gets. It needs one folded-paper template, three scraps of color and a glue stick. The color-block card is just as easy if you can cut two straight rectangles.
Can I make these cards without a paper trimmer or punches?
Yes. Every design here can be cut with scissors, a ruler and a pencil. Dots can be traced around a pencil end or a small coin and cut by hand.
Where should the greeting go on a simple card?
Plan an empty area before gluing anything, usually below or beside the main shapes. If the design covers the whole front, as the stripe card does, write the greeting inside. Draft it in pencil first so the spacing works.