How to Make a Matching Set of Thank-You Cards
Batch-make six or eight coordinated thank-you cards: one layout, one palette, one detail that changes, an assembly-line order and a scrap-card jig for consistent placement.
Tutorial at a glance
Materials
- White or kraft cardstock for the bases, one letter sheet per two cards
- Colored cardstock scraps for bands and small shapes
- Paper trimmer, or scissors with a ruler and pencil
- Bone folder or the back of a butter knife
- Glue stick or liquid glue
- Scrap card for a placement jig
- Envelopes, bought or handmade
- A strip of lighter paper for the band
After a party, a wedding or a new baby there are usually several people to thank at once, and making each card from scratch gets slow. A matching set of thank-you cards solves that: choose one layout and one palette, change a single detail from card to card, and build all of them together in stages. Six or eight coordinated cards with envelopes, tied in a paper band, also make a useful handmade gift.
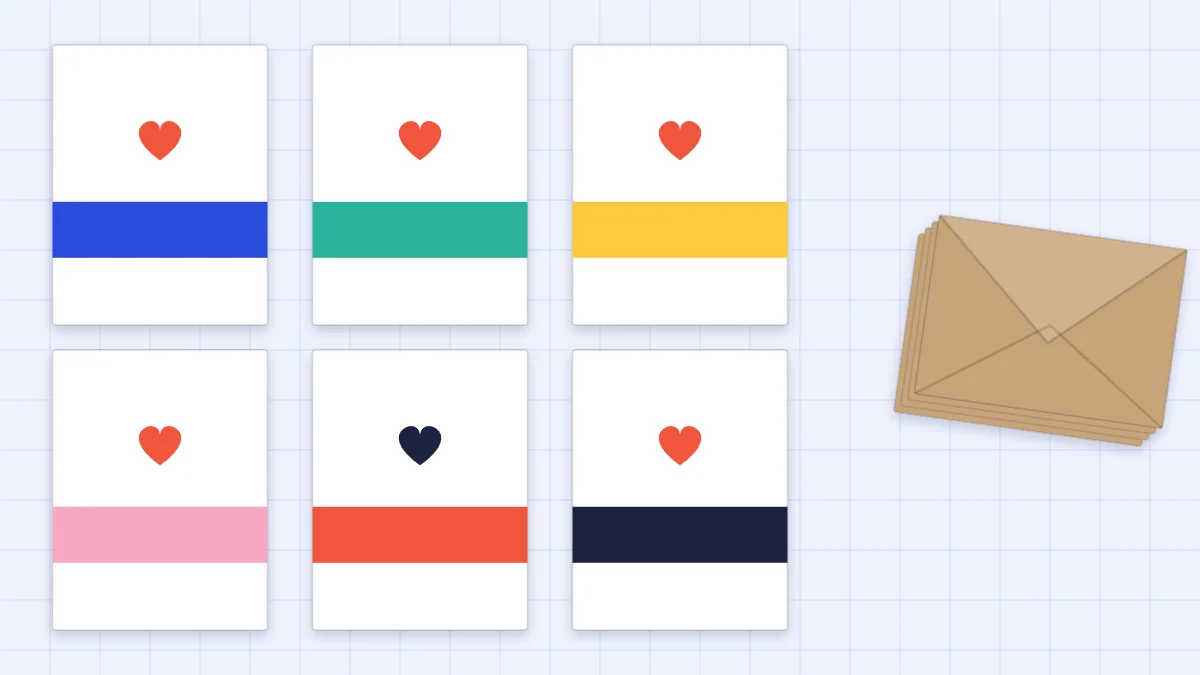
The example here is deliberately plain so it can be repeated without effort: a white A2 card with one horizontal band of color and one small paper heart. Each card in the set uses a different band color.
Pick one layout and one palette
A set looks like a set when most things stay the same. Fix the card size, the base color, the layout and the position of every piece. Any dependable arrangement works, and the guide to card layout ideas has several built from simple blocks. Layouts with few pieces and straight cuts are the ones worth batching.
For the palette, choose one neutral base (white or kraft) and as many colors as you have cards, or half as many used twice. Lay the scraps side by side before cutting anything. If one color jumps out as louder or muddier than the rest, replace it now. The guide to choosing color combinations explains why some groups sit together better than others.
Vary one thing per card
Change exactly one element and keep everything else identical. Two changes at once and the cards stop looking related.
| What changes | What stays the same | Effect |
|---|---|---|
| Band color | Layout, heart color, base | A rainbow of clearly matched cards |
| Accent shape (heart, star, leaf, circle) | Layout, all colors, base | Quiet variety; suits a two-color palette |
| Color order (band and accent swap colors) | Layout, the pair of colors, base | Pairs of cards that mirror each other |
Work out how much cardstock you need
One US letter sheet, 8.5 x 11 in, cut in half gives two A2 bases of 8.5 x 5.5 in (21.6 x 14 cm), each scored at 4.25 in (10.8 cm). Readers with A4 paper can halve a sheet the same way for a very similar card. From that, the quantities follow:
- Base sheets = number of cards divided by 2, rounded up, plus 1 spare sheet for mistakes.
- Bands = one per card, each 4.25 x 1.25 in (10.8 x 3.2 cm). A scrap of that size in each color is enough.
- Accent shapes = one per card, plus 2 extra. Small shapes are the pieces most often lost or miscut.
- Envelopes = one per card, plus 1 or 2 spares for addressing mistakes.
For eight cards that works out to four sheets for the bases and one spare, eight bands, ten hearts and nine or ten envelopes. Heavier cardstock, roughly 216-300 gsm, suits the bases; the bands and hearts can come from lighter cardstock or scraps.
Work in assembly-line order
Doing one task for every card before moving to the next keeps the cuts consistent, because the ruler or trimmer stays at one setting.
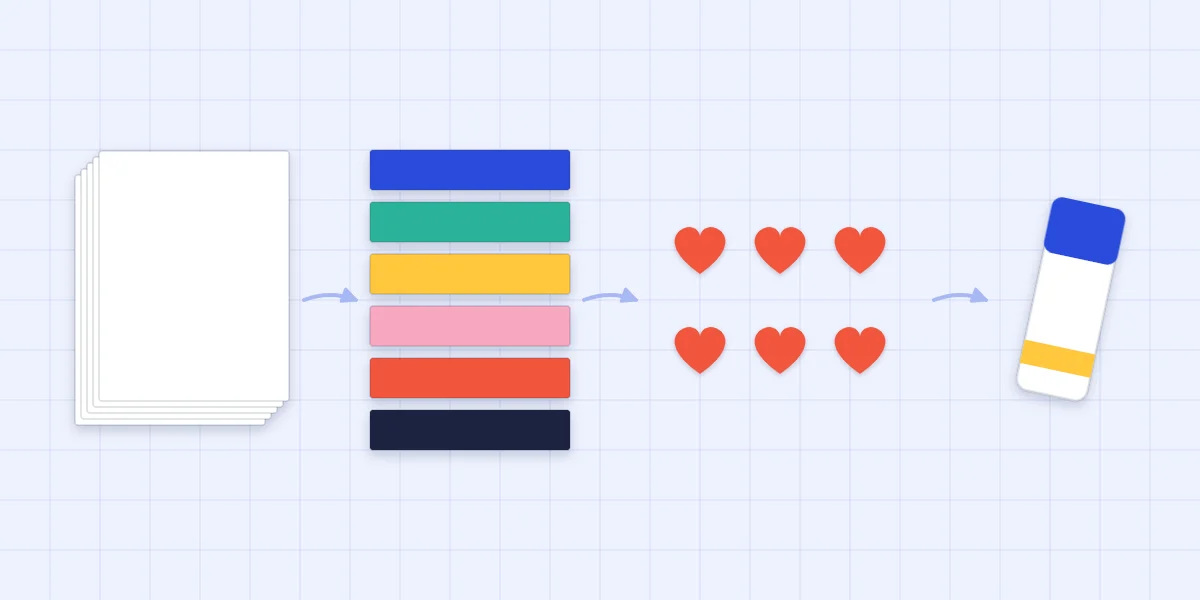
- Cut all the bases. Halve every sheet before doing anything else. The guide to cutting cardstock covers keeping the halves square.
- Score all the bases, then fold and burnish them all.
- Cut all the bands (or mats, if your layout has them), to the full width of the card front.
- Cut all the focal shapes. For matching hearts, fold a scrap about 1 in (2.5 cm) square in half, cut half a heart on the fold, and use the first heart as a pattern for the rest.
- Sort the pieces into groups: bases in one stack, bands in another, hearts in a row, glue at the end. Pair each band with its heart now so no color combination is repeated by accident.
- Glue all the bands, then all the hearts. Complete one card first as a sample to check the look, then repeat it across the rest.
Make a placement jig from scrap card
Measuring the band position on every card invites small differences, and small differences are obvious when the cards are fanned out together. A jig removes the measuring.
Cut a rectangle of scrap card 4.25 in (10.8 cm) wide and as tall as the gap you want below the band, for example 1 in (2.5 cm). Lay it on the card front flush with the bottom edge, butt the band against its top edge, press the band down and lift the jig away. Every band now sits at the same height.
Make a second small jig for the heart: a strip whose length equals the distance from the right edge of the card to the heart. Slide the heart against it, just above the band.
Tip
Put glue on the band, not on the card, and keep the jig clean. One smear on the jig’s edge transfers to every card that follows.
Match the envelopes
Envelopes turn a pile of cards into a finished set. There are two routes:
- Make them. A square of light paper folded around the card gives an exact fit, and a strip of the band color makes a matching liner. The steps are in how to make an envelope.
- Dress up bought ones. Glue a narrow strip of each band color, about 1/4 in (6 mm) wide, along the edge of the flap or across the lower left corner of the front, well clear of the address area.
Leave the cards blank inside for the handwritten thank-you.
Bundle the finished set
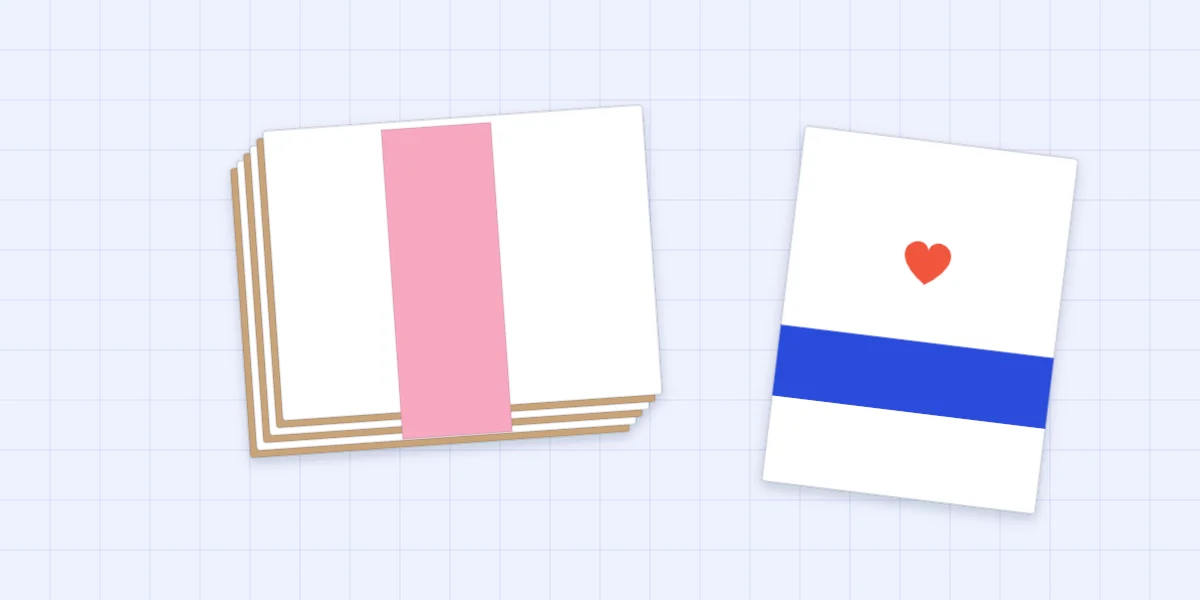
Stack the cards with their folds on the same side and put the envelopes underneath. Cut a paper band about 1.5 in (4 cm) wide and long enough to wrap once around the stack with an overlap of about 1/2 in (1.3 cm). Wrap it snugly, mark the overlap, slide the band off and glue or tape the overlap closed, then slide it back on.
Gluing the band away from the stack matters: glue applied while it is wrapped can stick the band to the top card.
Common batch mistakes
- Cutting everything before testing one card. Assemble a single sample first. A band that looks right as a loose strip can look too heavy on the card.
- Running out of one color. Check that the smallest scrap is large enough before fixing the palette.
- Drifting placement. If the cards start to differ, go back to the jig instead of judging by eye.
Watch out
Let the glue dry fully before stacking the cards, or they stick to each other and the hearts shift.
Frequently asked questions
How much cardstock do I need for a set of thank-you cards?
One US letter sheet makes two A2 card bases, so divide the number of cards by two, round up and add one spare sheet. For eight cards that is four sheets plus one spare. Bands and small shapes can usually come from scraps.
How do I keep the design in the same place on every card?
Use a jig cut from scrap card. Cut it as tall as the gap you want below the band, lay it flush with the bottom edge of the card and butt the band against it. Every card then matches without measuring.
How much should the cards in a set differ from each other?
Change one thing only, such as the band color or the accent shape, and keep the size, layout and placement identical. One change gives variety while the cards still clearly belong together.