Card Making for Beginners: Tools, Paper and Your First Card
What a handmade card is made of, the short list of tools you need, and a first card to make: a folded base, one mat and a paper heart.
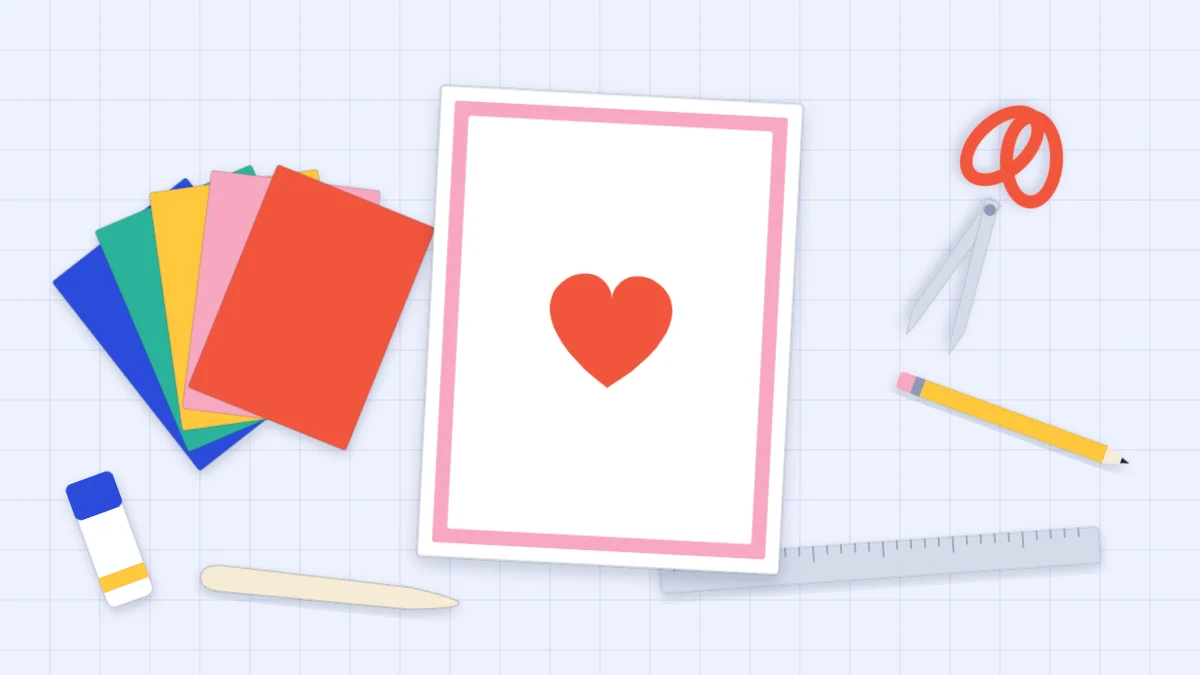
Tutorial at a glance
Materials
- White cardstock for the card base
- Pink cardstock for the mat
- Red cardstock scrap for the heart
- Scissors or a paper trimmer
- Ruler and pencil
- Bone folder or blunt butter knife
- Glue stick or liquid glue
Card making for beginners comes down to three skills: cutting a straight line, folding a clean crease and gluing one piece of paper flat onto another. Everything else, from layered flowers to pop-ups, is built from those three. You do not need a craft room or a machine to start. A few sheets of cardstock and tools that are probably already in a drawer are enough for a card worth giving.
Below you will find what a handmade card is made of, the short starter kit, the standard size, and a first card to make: a folded base, one colored mat and a single paper heart, with a greeting in your own handwriting.
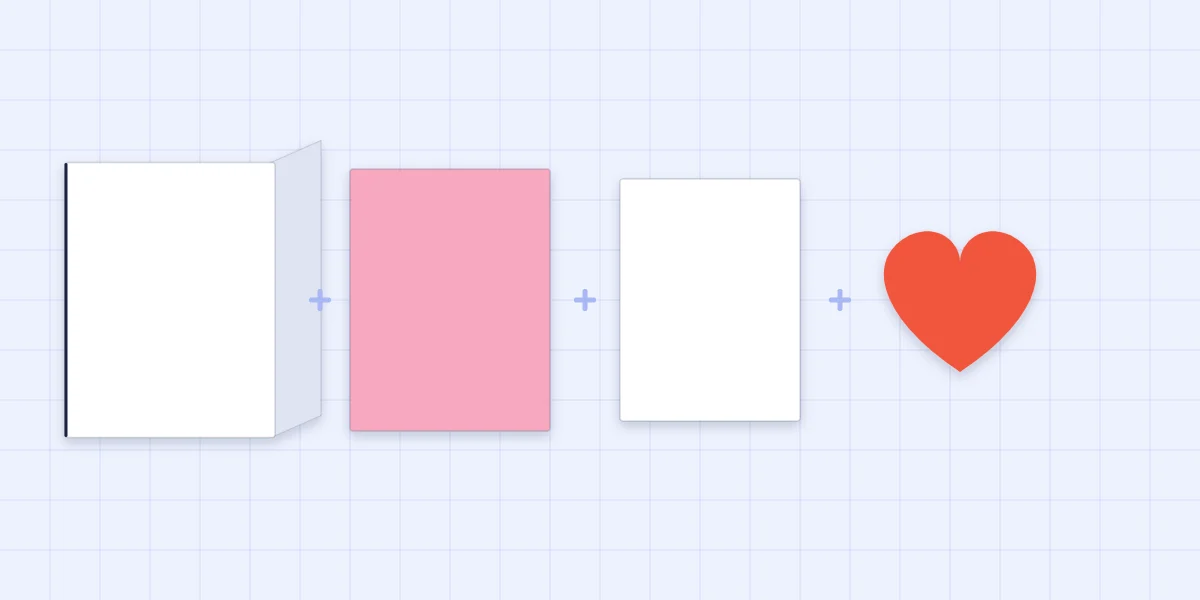
The parts of a handmade card
Most handmade cards are a stack of the same few pieces. Knowing their names makes every tutorial easier to follow.
- Card base: the folded piece of heavier cardstock that everything else sits on. It is the structure of the card, so it needs to stand up on its own.
- Mat: a slightly smaller piece of colored cardstock glued to the front. It frames whatever goes on top and adds a border of color.
- Panel: a smaller piece again, often white, that sits on the mat and carries the design. A simple card can skip it and decorate the mat directly.
- Focal piece: the one thing the eye goes to first, such as a heart, a flower or a balloon.
- Greeting: the words, which some crafters call the sentiment. On this site the greeting is always handwritten, on the front or inside.
Each layer is cut a little smaller than the one beneath it, so a narrow, even border shows all the way around.
The starter kit
Buy as little as possible at first. The list below covers hundreds of designs, and most items have a household stand-in.
| Item | What it does | Substitute |
|---|---|---|
| Cardstock, white plus a few colors | Card bases, mats and cut shapes | None, this is the one thing to buy |
| Scissors or a paper trimmer | Cuts straight edges and shapes | Sharp household scissors |
| Ruler and pencil | Measures and marks cut and fold lines | Any ruler with a clean, straight edge |
| Bone folder | Scores the fold line and flattens the crease | The back of a blunt butter knife |
| Glue stick or liquid glue | Holds layers flat | Double-sided tape |
| Foam squares (optional) | Raise one piece so it casts a shadow | A small stack of cardstock scraps |
Cardstock deserves the most thought, because flimsy paper makes a floppy card no matter how carefully you work. A heavier sheet, roughly 216-300 gsm, suits the base, and lighter cardstock is easier to cut for mats and shapes. The guide to cardstock weights, finishes and grain explains what the numbers on the pack mean.
The standard size: A2
The most common handmade card in the US is called A2 and measures 4.25 x 5.5 in (10.8 x 14 cm) when folded. Its popularity is practical: one US letter sheet (8.5 x 11 in) cut in half gives two card bases with no waste, and envelopes in that size are easy to find.
Each half is 8.5 x 5.5 in. Folded across the middle at 4.25 in, it becomes a side-fold card that opens like a book. If you have A4 paper instead, cut an A4 sheet in half the same way for a very similar card.
Make your first card
What you need
- 1 letter sheet of white cardstock for the base
- 1 piece of pink cardstock, at least 4 x 5.25 in (10.2 x 13.3 cm)
- A scrap of red cardstock, about 2.5 in (6 cm) square
- Scissors, ruler, pencil
- Bone folder or blunt butter knife
- Glue stick or liquid glue
Cut the pieces
Cut the white sheet in half to get a base piece of 8.5 x 5.5 in (21.6 x 14 cm). Save the other half for a second card. Cut the pink mat to 4 x 5.25 in, which is 1/4 in (6 mm) smaller than the card front in both directions. For the heart, fold the red scrap in half, draw half a heart against the fold and cut through both layers so the two sides match. Step-by-step help with straight edges is in the guide on how to cut cardstock cleanly.
Put it together
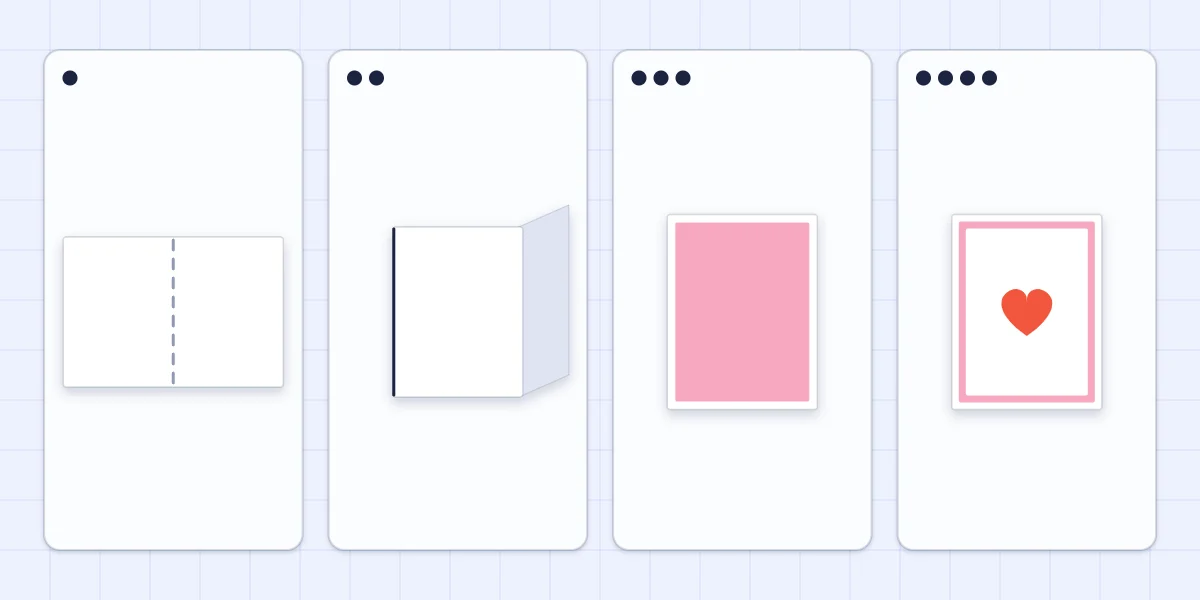
- Score the base. Lay the white piece flat with the long edge toward you. Mark the middle at 4.25 in (10.8 cm) at the top and bottom edges, line up the ruler on the marks and draw the bone folder firmly along it. The dent it leaves is the score line.
- Fold the base. Fold the card along the score, match the corners and run the bone folder along the fold to flatten it. A scored fold is straight; an unscored one wanders and can crack.
- Add the mat. Spread glue over the back of the pink mat, right out to the edges, and set it on the card front with an even white border of 1/8 in (3 mm) all around. Press from the center outward.
- Add the heart. Glue the red heart a little above the middle of the mat. Placing it slightly high looks balanced and leaves clear space below.
Let the glue dry fully, then write your greeting by hand, either beneath the heart or inside the card.
Common first-card problems
A crooked fold almost always comes from skipping the score or measuring only one edge. Mark both edges and score against the ruler. The guide on how to score and fold a card covers this in detail, including what to do when the fold cracks.
Uneven borders come from placing the mat by one corner. Look at all four borders before pressing down; a glue stick gives you a moment to slide the mat into place.
Watch out
Too much liquid glue soaks into cardstock and makes it ripple. Use thin lines or small dots, keep them a little way in from the edge and wipe away anything that squeezes out before it dries.
Where to go next
Three guides build directly on this one and are best read in order: cardstock first, then cutting, then scoring and folding. After that, the same base, mat and focal piece can be rearranged into dozens of designs. For more practice with the same kit, try these five simple handmade cards.
Frequently asked questions
What do I need to start making cards?
Cardstock, scissors, a ruler, a pencil, something to score with and glue. A bone folder is the usual scoring tool, but the back of a blunt butter knife works. Foam squares and a paper trimmer are useful later and not needed for a first card.
What size is a standard handmade card?
The most common US size is A2, which is 4.25 x 5.5 in (10.8 x 14 cm) folded. One letter sheet cut in half makes two A2 card bases. With A4 paper, halving a sheet gives a very similar card.
Can I make cards with printer paper?
Printer paper is too thin for a card base and will not stand up. It is fine for practicing folds, cutting shapes to test a layout and making envelopes. Use cardstock for the base and for layers that need to lie flat.